


Originally Posted by thewho

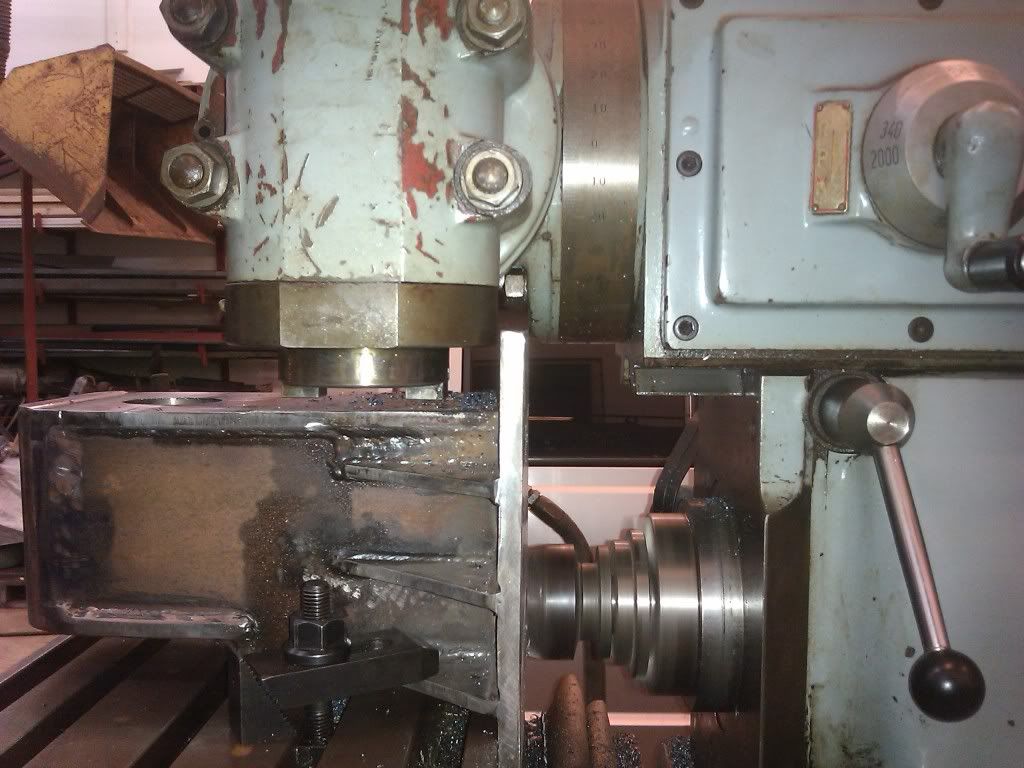
There is some. But the truth is if you want higher rpm you will need to add bearings that are able. The IH spindle would be a good way to go, plus afforable. See if they will sale it wihtout the bearings so you could buy better ones. Getting a spindle to run high RPM is not the easest thing to do, good bearings a must, then the right install, plus break in.
The guys that sale the IH clone would sale you a spindle without the bearings I believe, if IH want. The Tormach you would have to post in the Tormach section to find what the guys are getting for top RPM with the factory bearings. I know some are getting higher, but I am not sure how much.
Jess
Thread: E/G CNC Mill
Results 21 to 40 of 70
-
10-14-2011, 12:37 PM #21
 Registered
- Join Date
- Dec 2006
- Posts
- 839
GOD Bless, and prayers for all.
-
10-15-2011, 03:30 AM #22
Registered
- Join Date
- Jul 2005
- Posts
- 163
Since the Tormach PC770 will do 10K rpm, see if you can get one of those spindles, or the cartridge spindle and the upgraded bearings for the 770 spindle. Are you going to make an ATC for this mill?
-
10-15-2011, 01:54 PM #23
Registered
- Join Date
- Mar 2008
- Posts
- 43
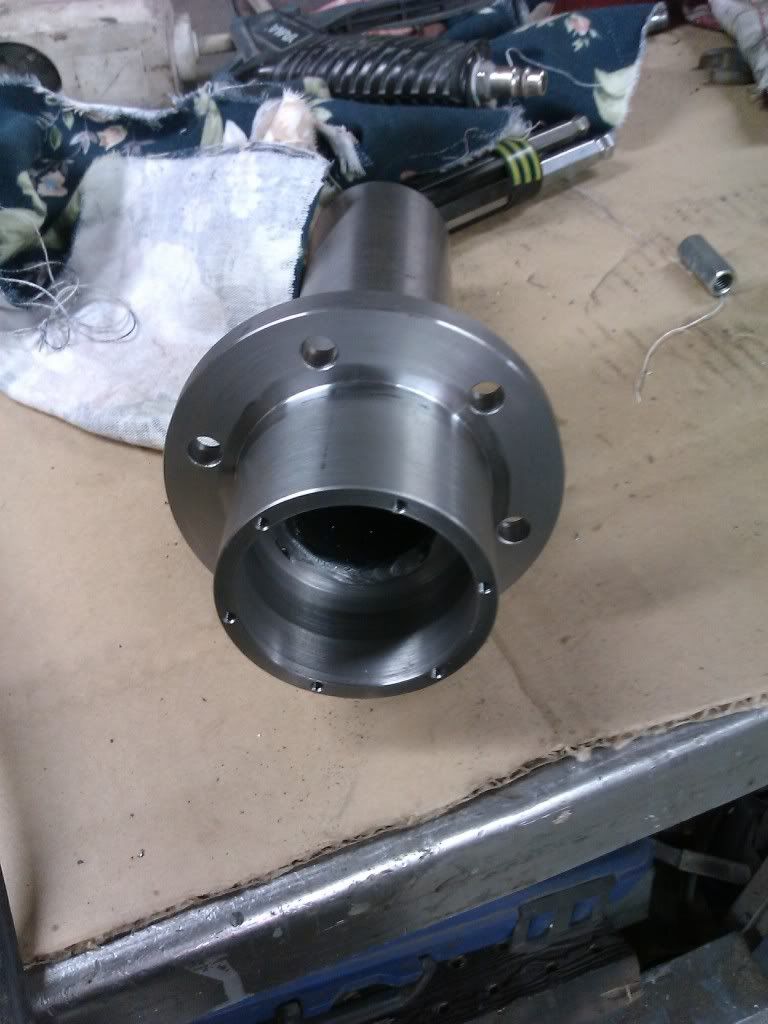
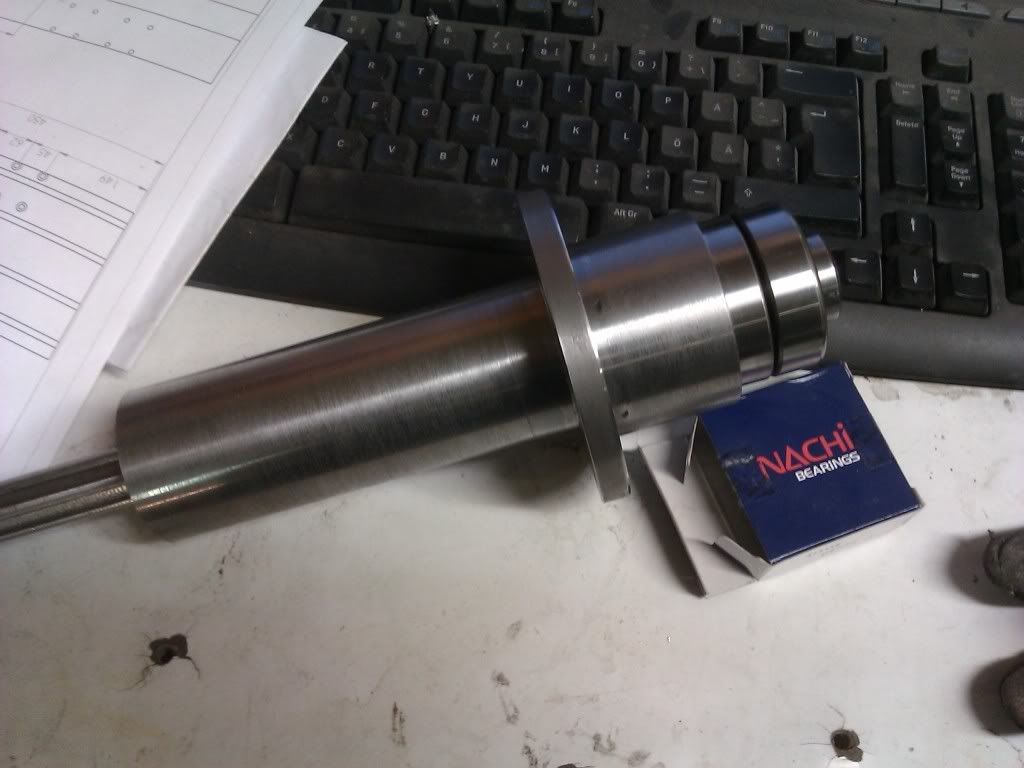
I would like to have a atc, but for now I will use the mt2 spindle shaft I have already.
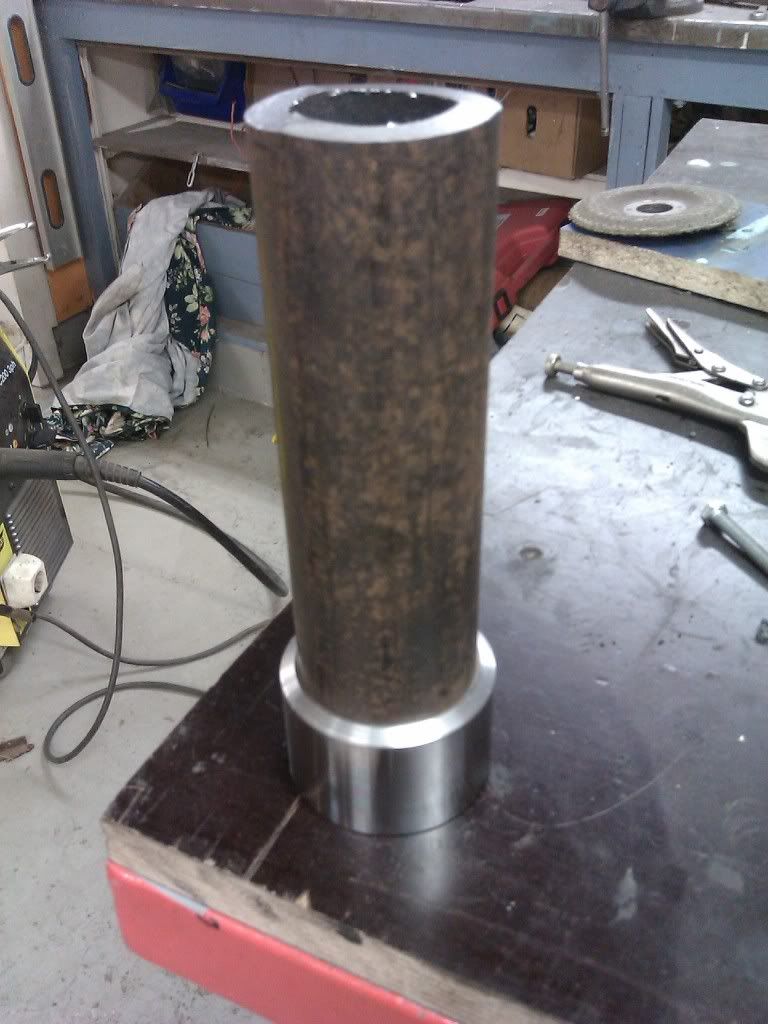
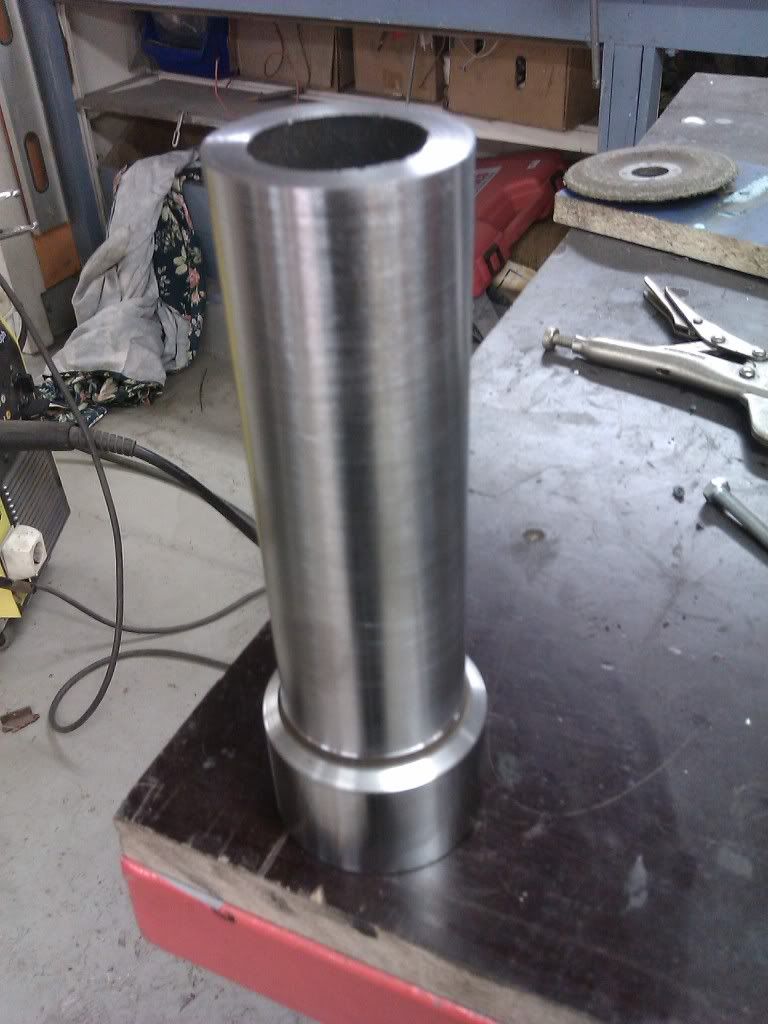
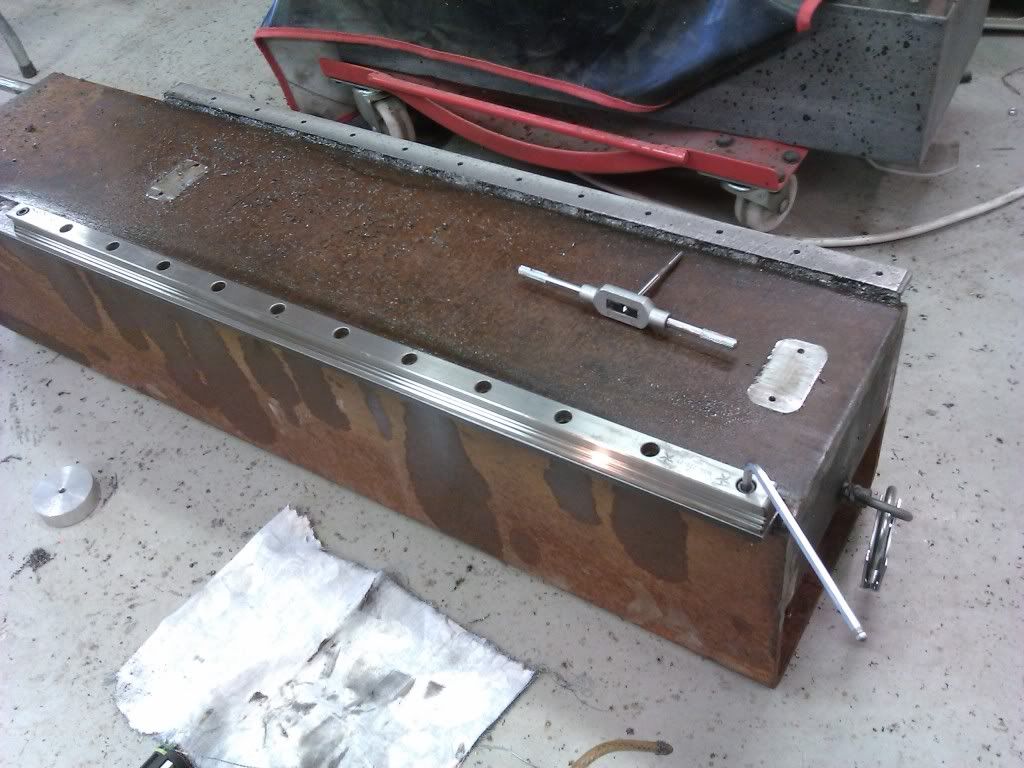
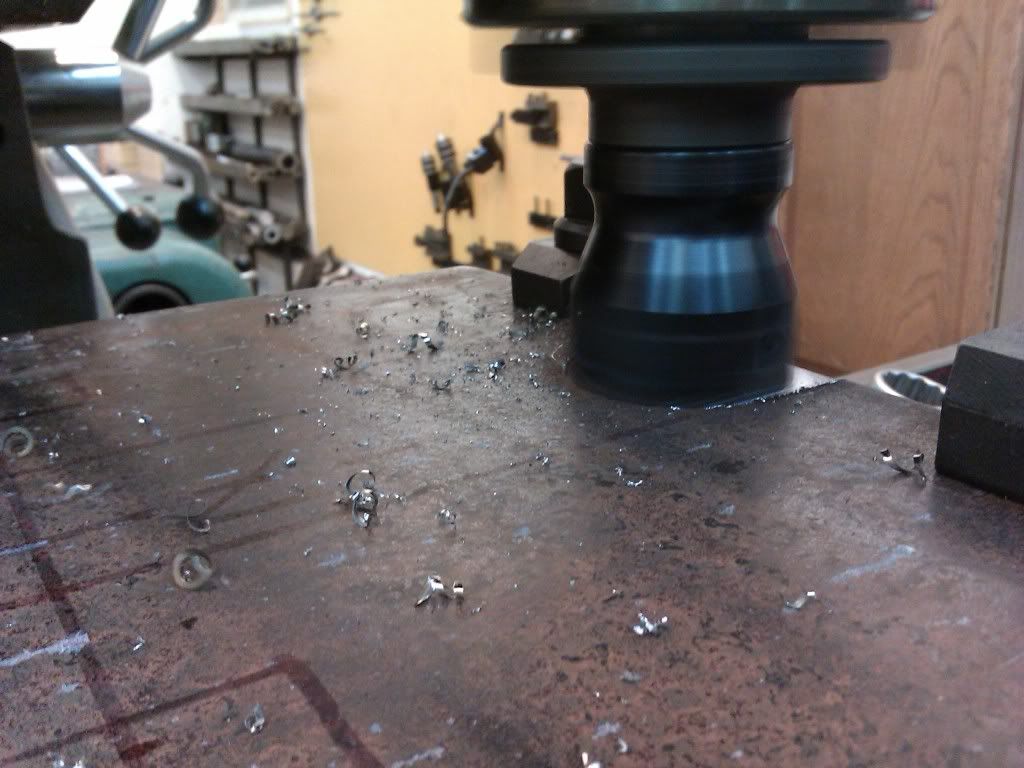
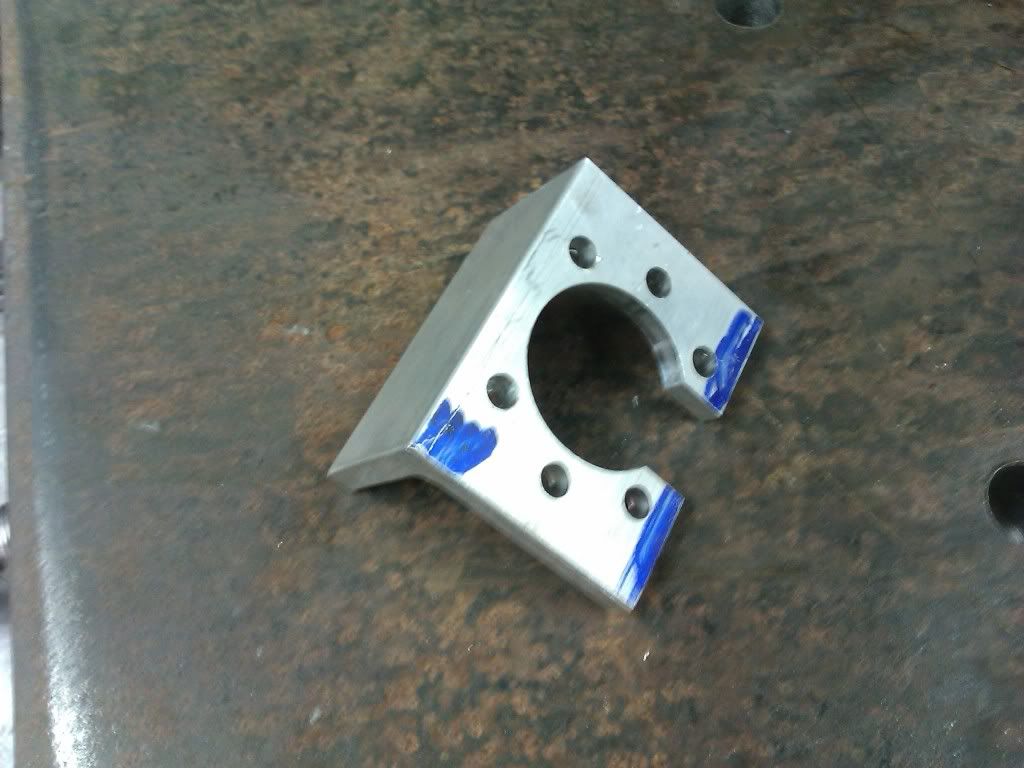
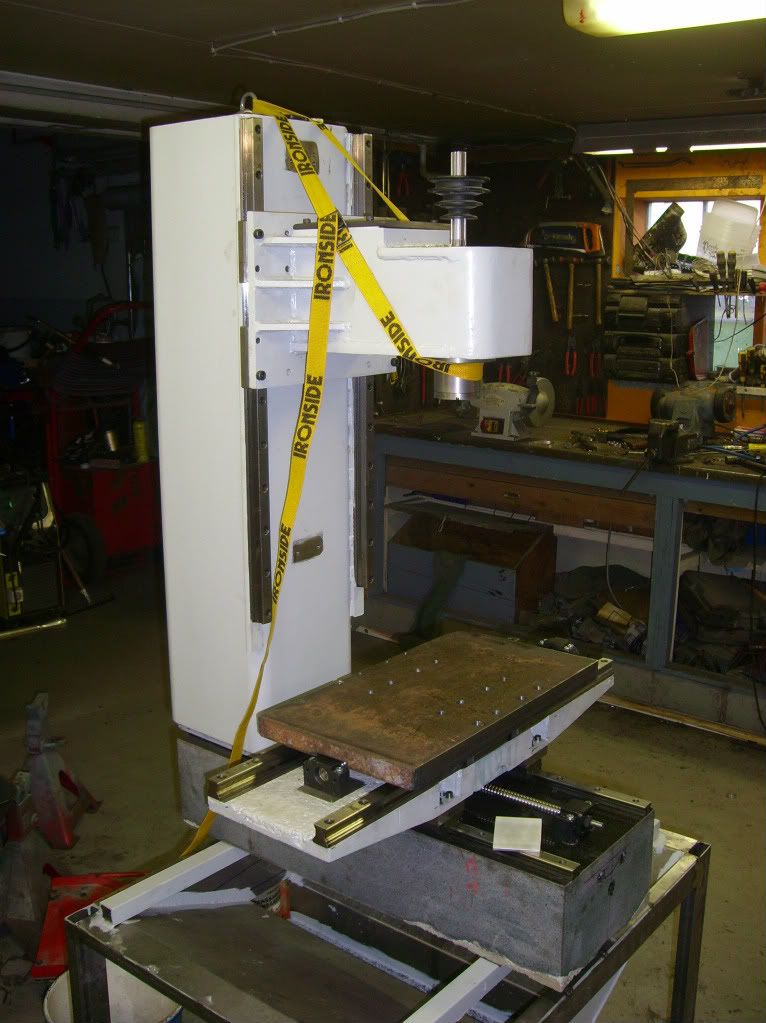
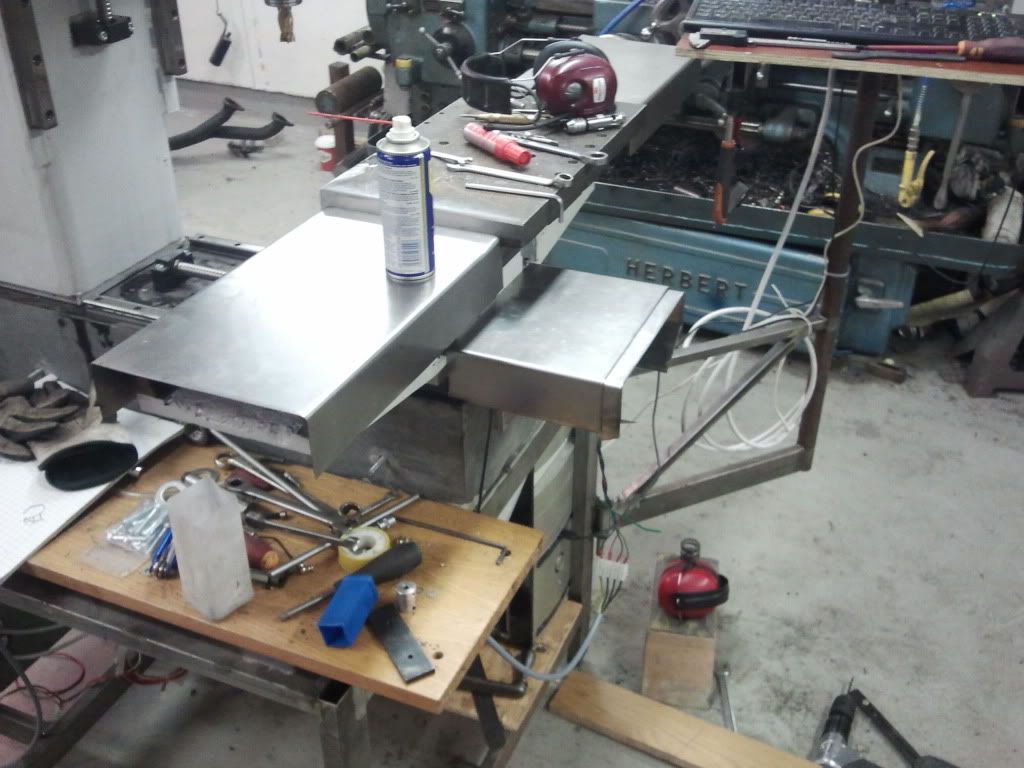
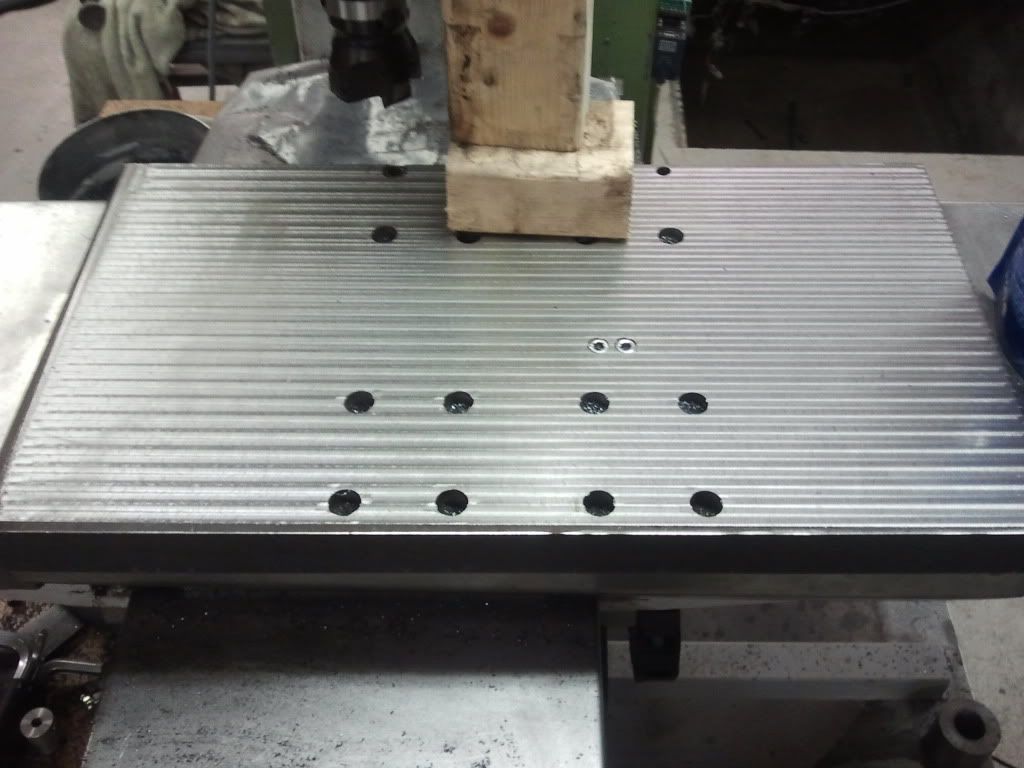
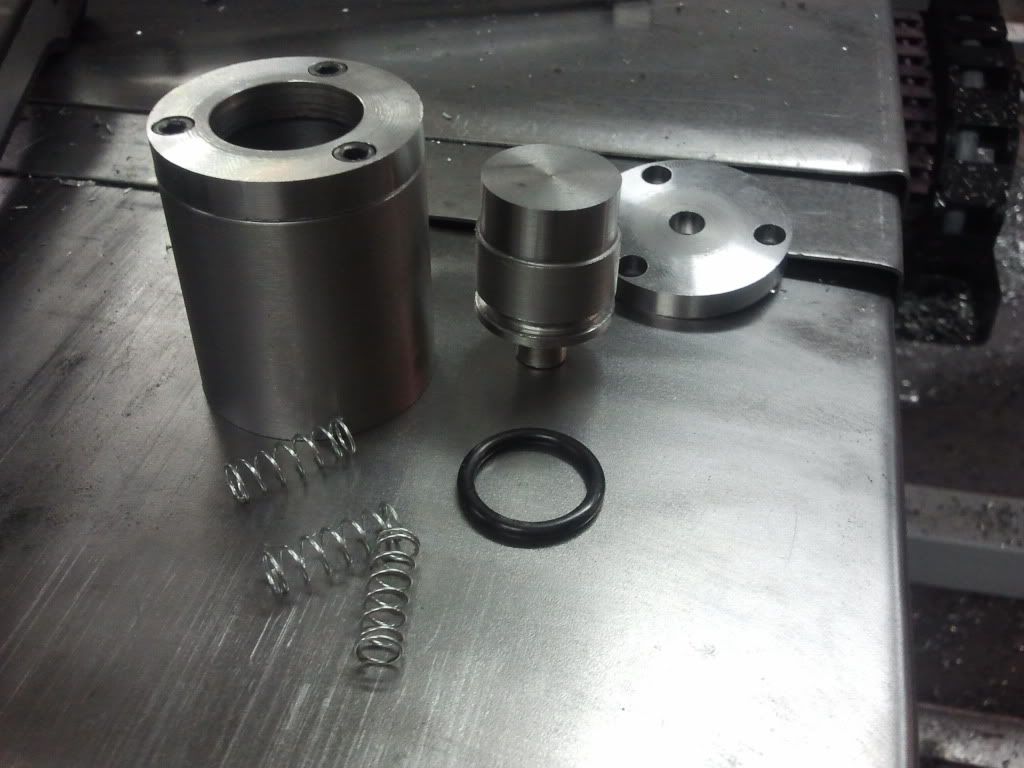
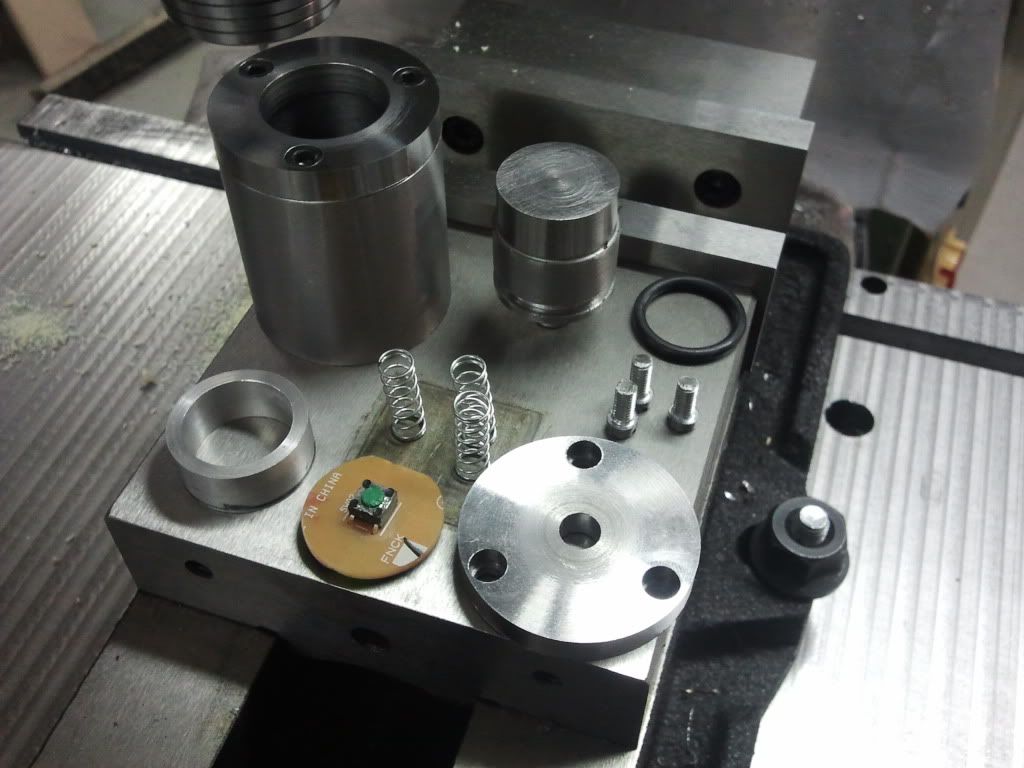
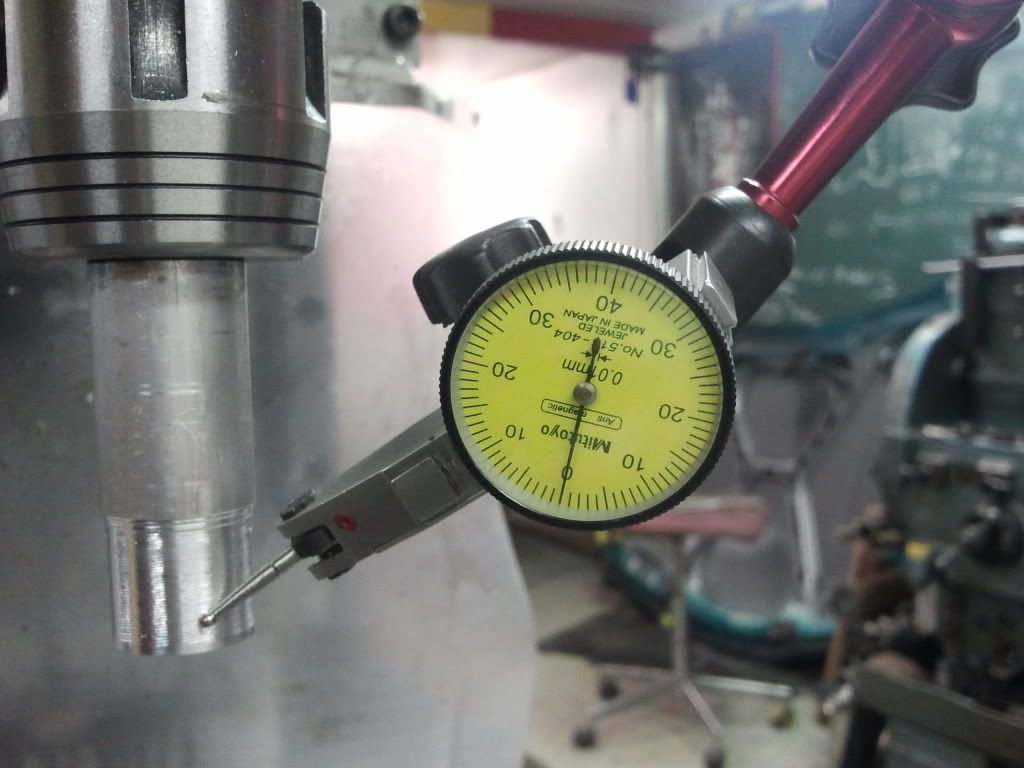
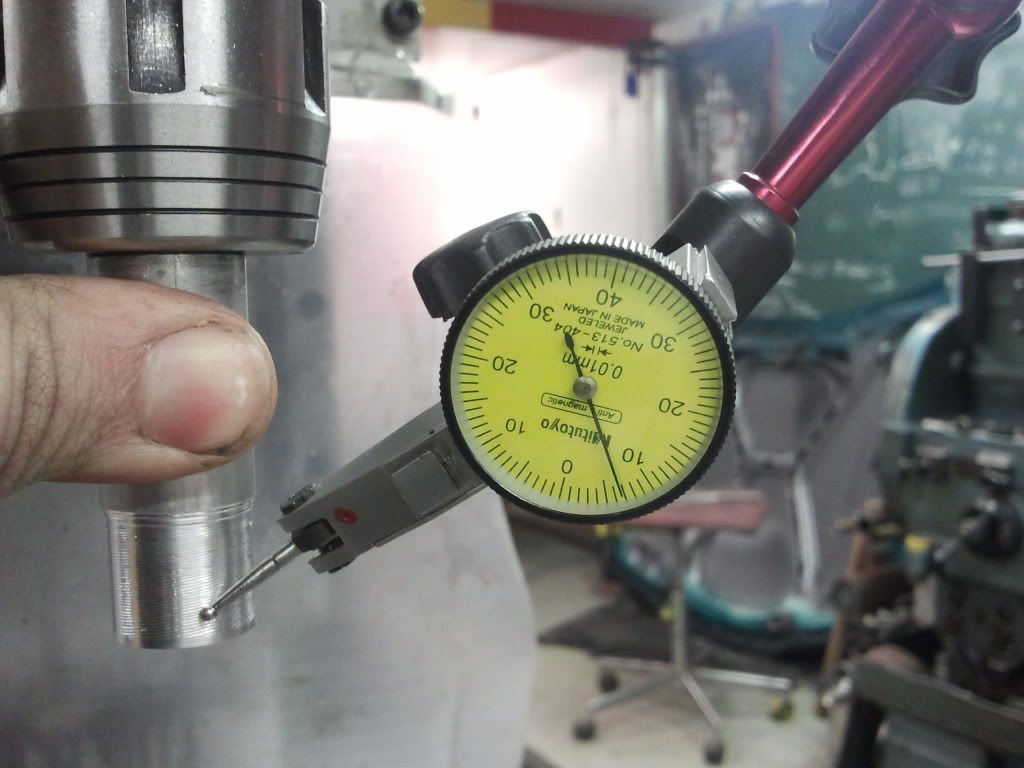
Todays update (really yesterdays update)
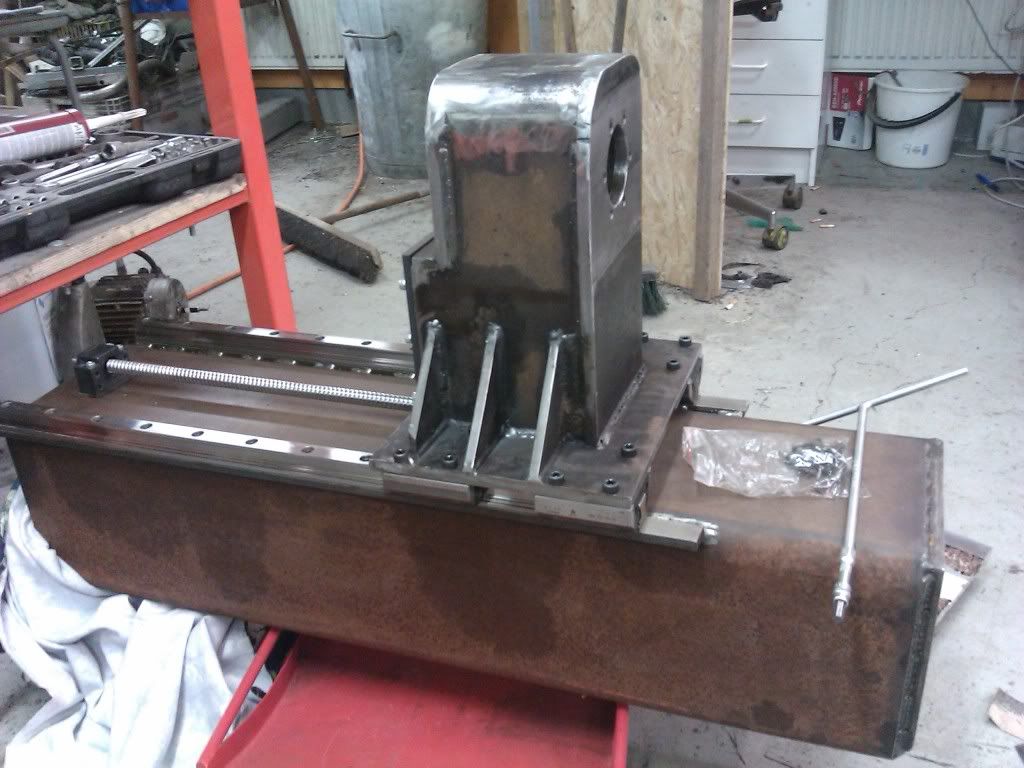
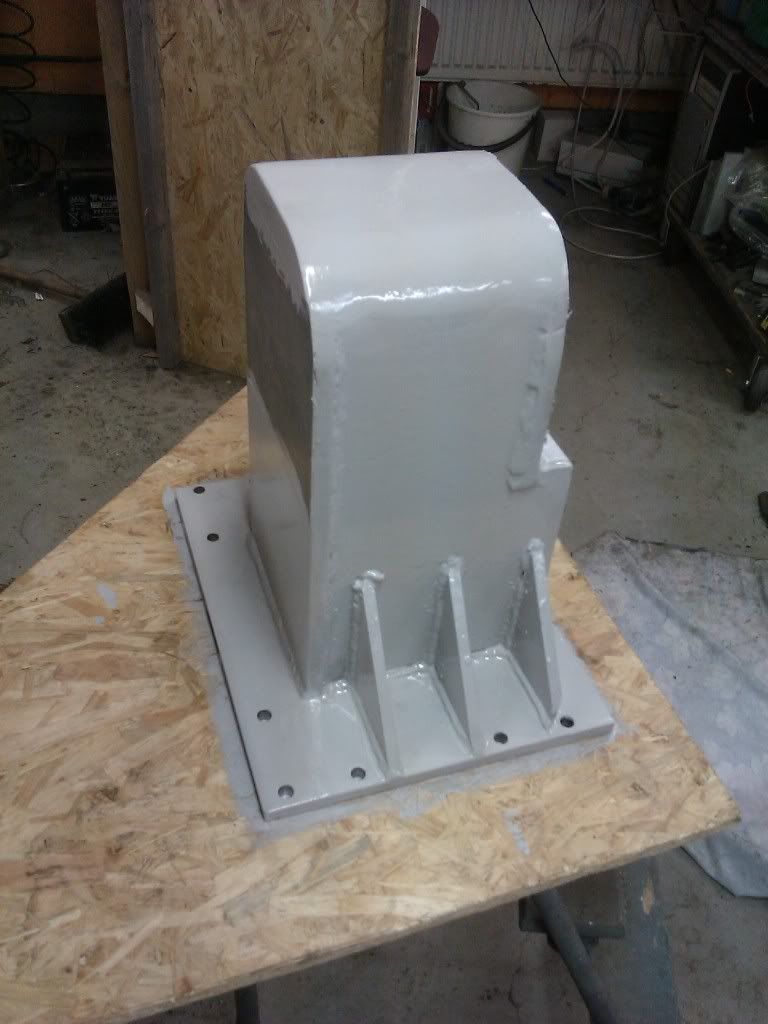
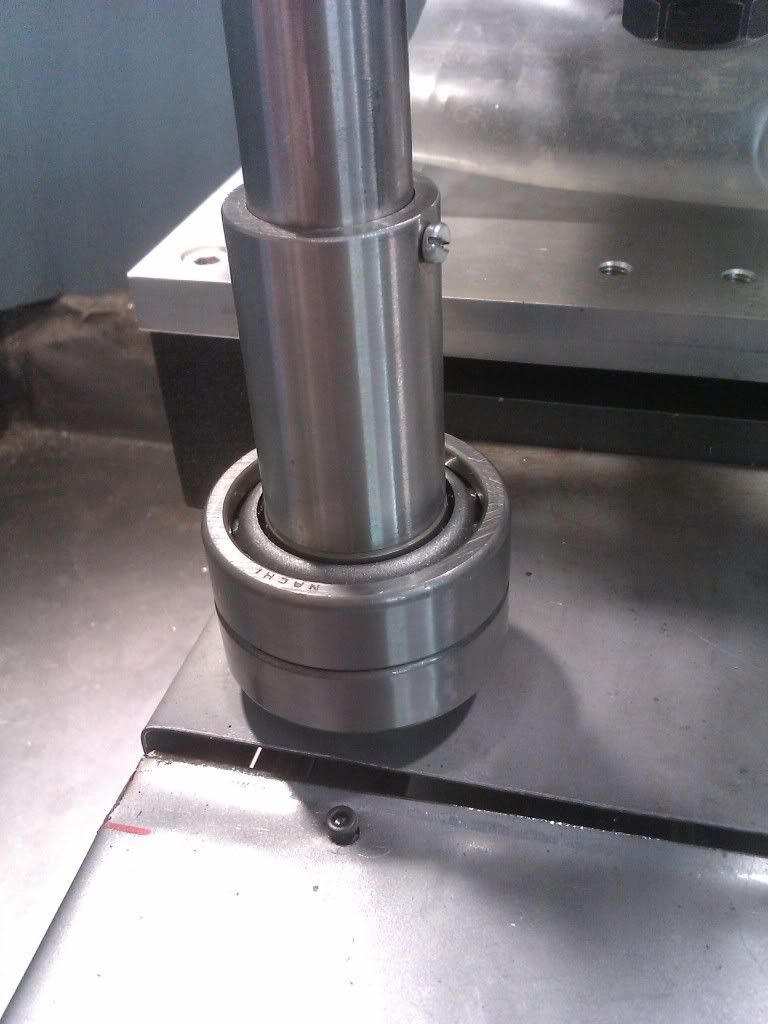
I started making a new spindle housing to make room for two ac bearings at the bottom.
Pics are crystal clear as always with a mobile camera :tired: sorry for that.
I'm really happy with the insert holder from ctc tools btw :banana:
-
10-16-2011, 11:15 AM #24
Registered
- Join Date
- Mar 2008
- Posts
- 43
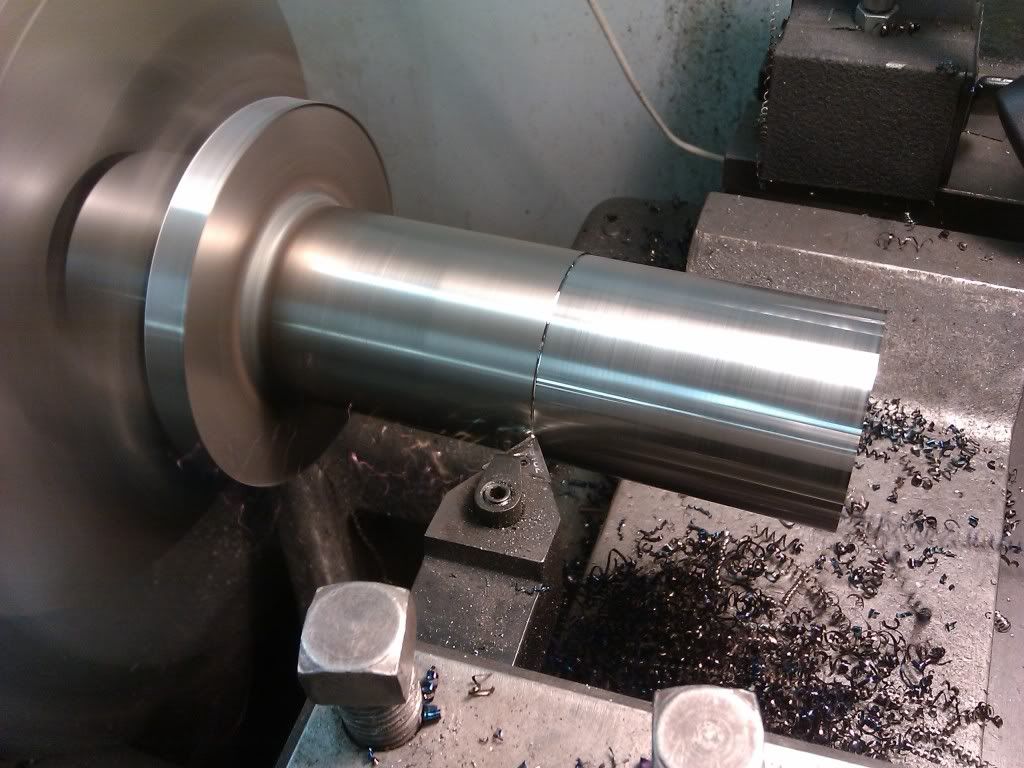
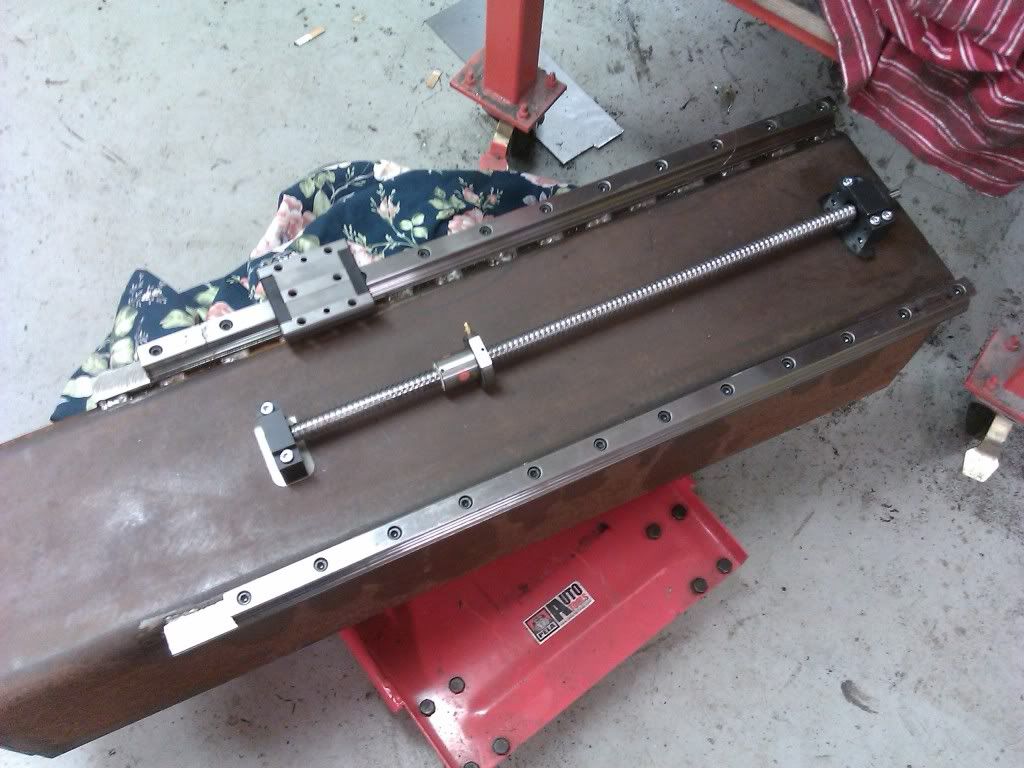
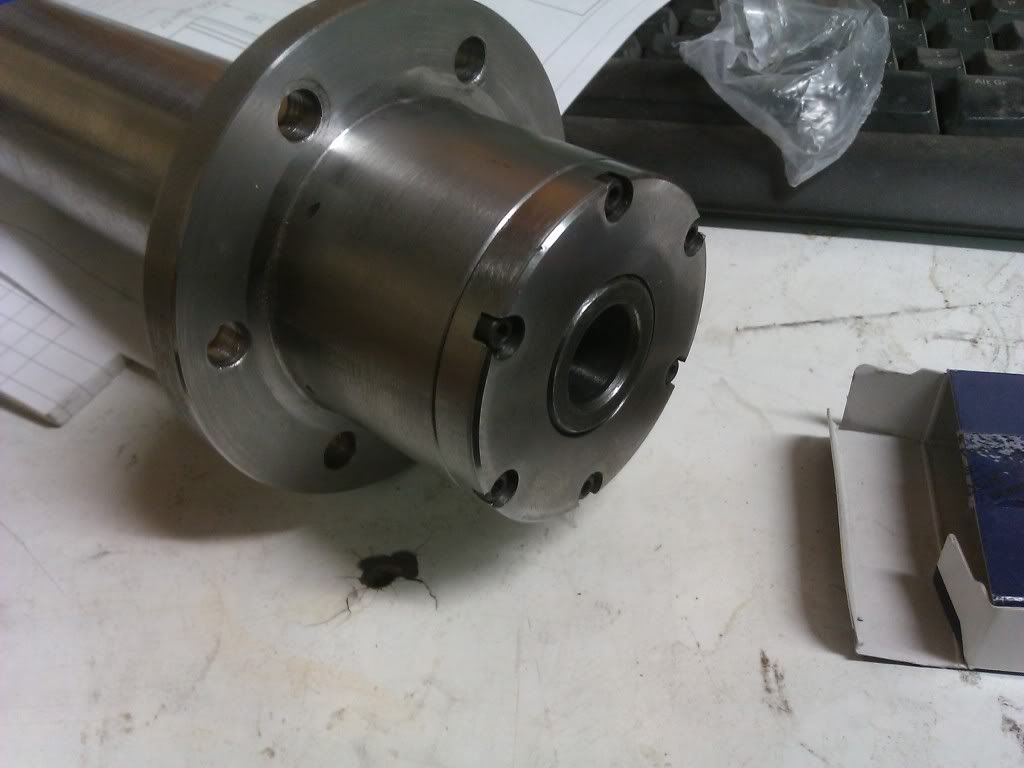
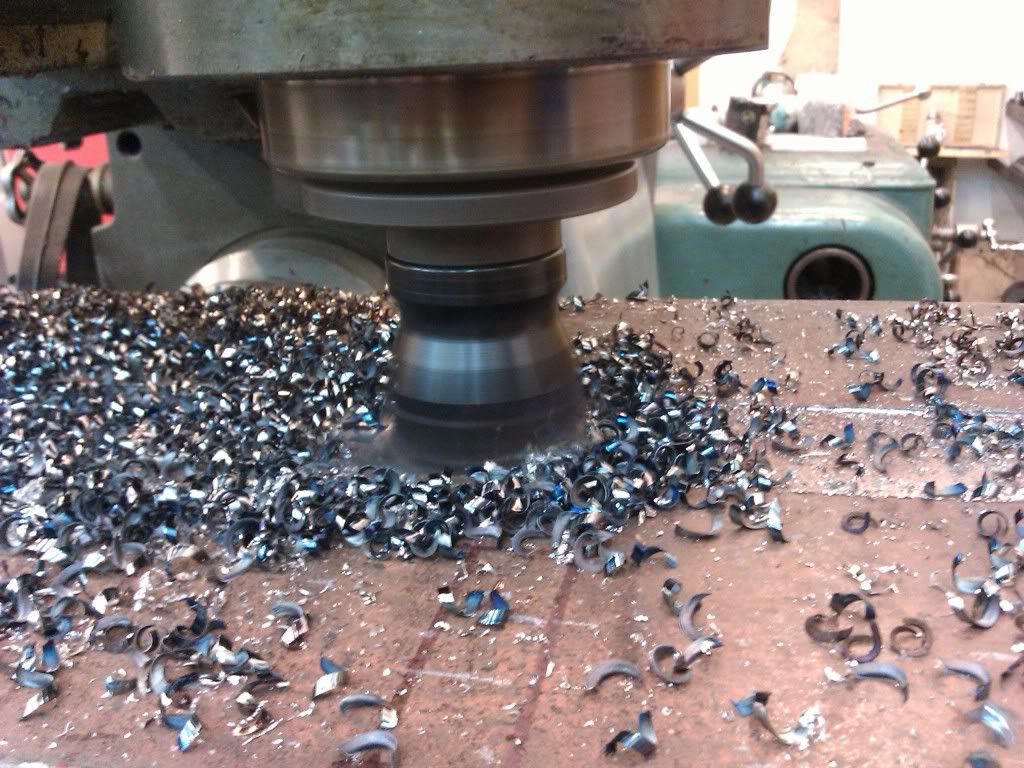
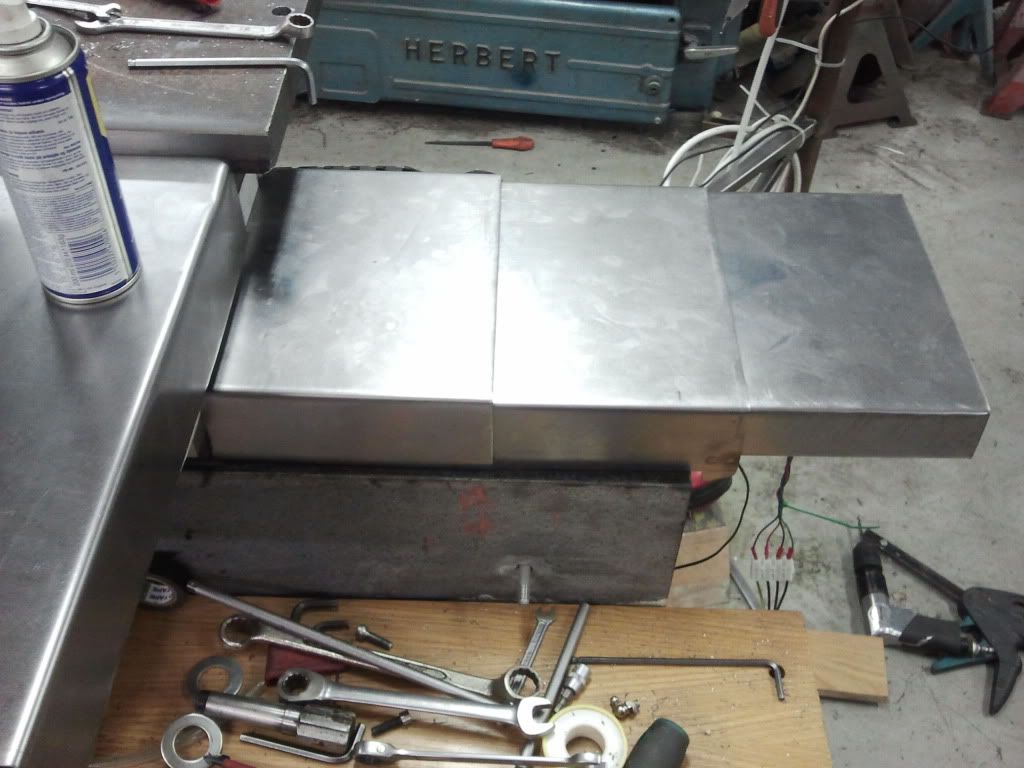
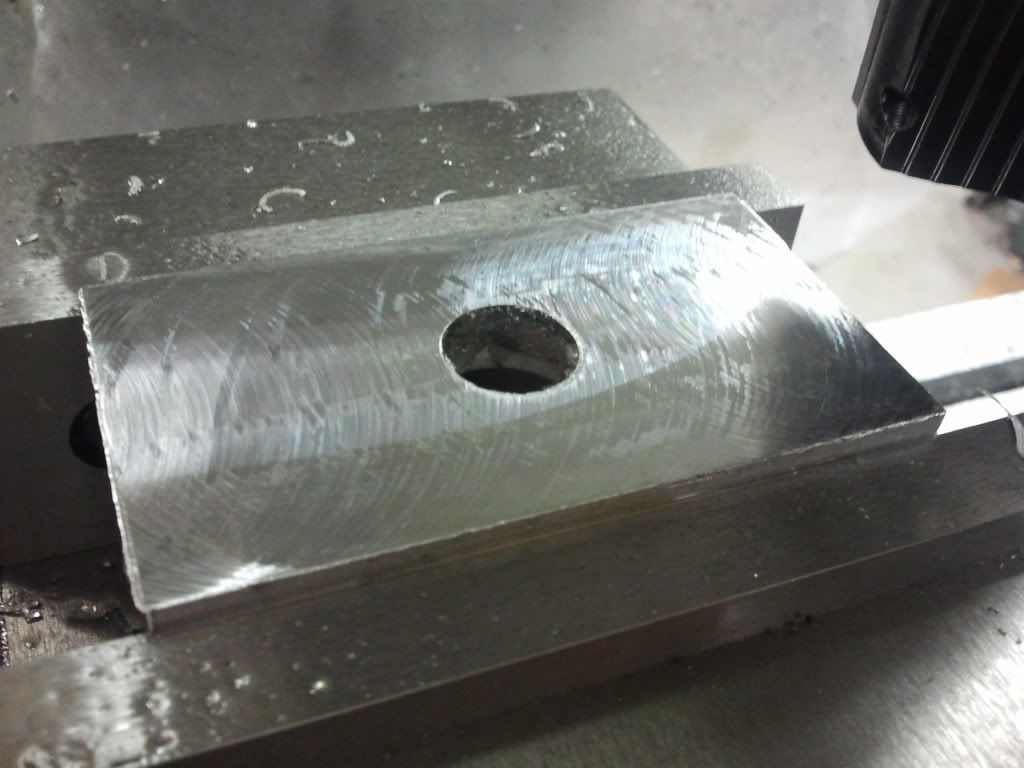
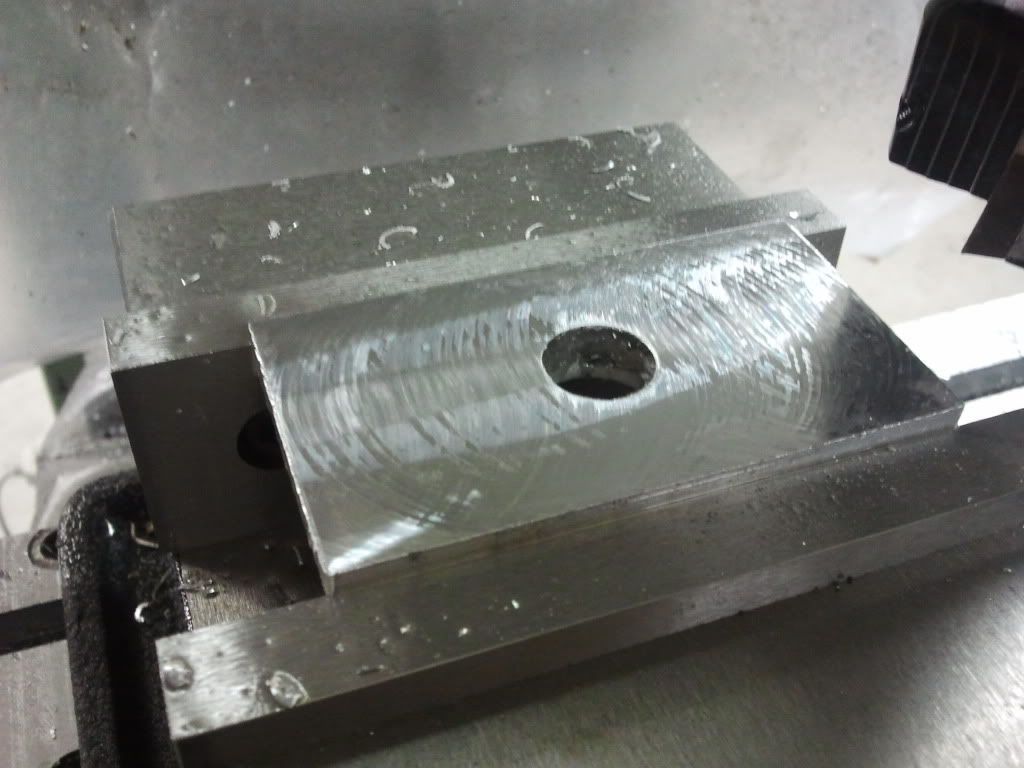
Last nights progress:
Drilling holes for the mounting screws
Done:
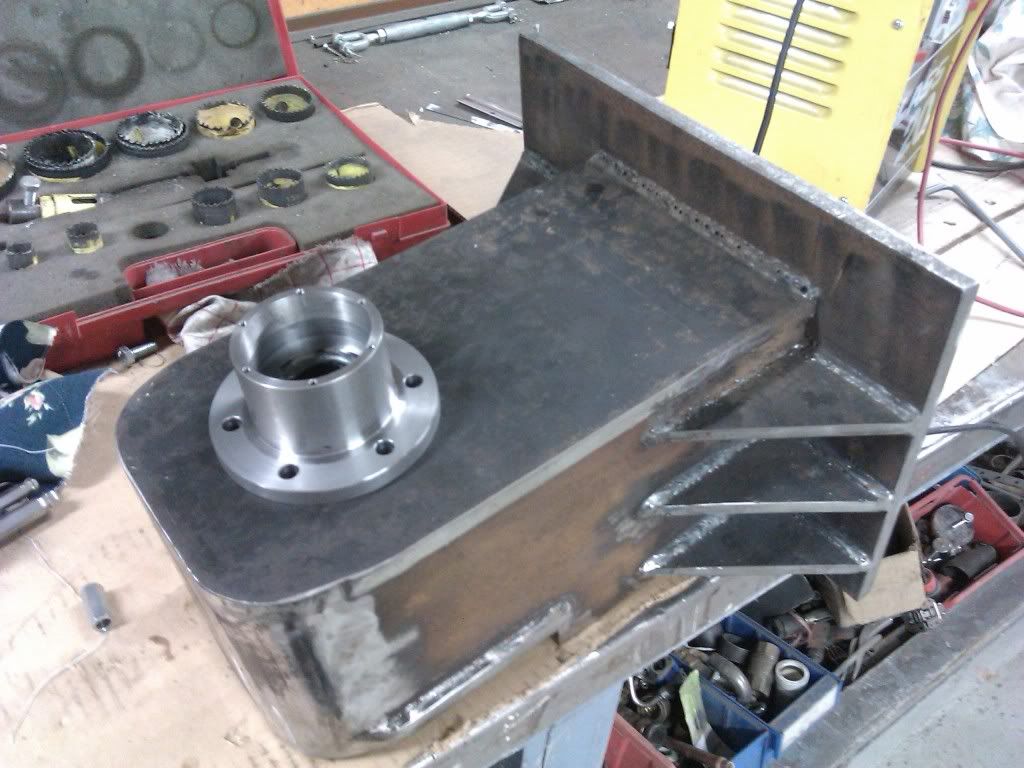
As always I bored the upper bearing seat a hair to much.. (chair)
Maybe It will work with some locktite?
-
10-16-2011, 05:52 PM #25
Registered
- Join Date
- Dec 2007
- Posts
- 118
I hate when that happens maybe you could drill through the sides in 3 or 4 points and tap for some set screws to tighten against the bearing so the bearing is held tight just a suggestion.As always I bored the upper bearing seat a hair to much..
Mike
-
10-16-2011, 06:06 PM #26
Registered
- Join Date
- Jul 2010
- Posts
- 0
Bore it further out and make a ring to fit the bearings.
PS: very nice project.
greetings & good luck
-
10-18-2011, 10:14 PM #27
Registered
- Join Date
- Apr 2007
- Posts
- 521
there is loctite especially for this purpose. Originally Posted by thewho
-
10-20-2011, 07:42 AM #28
Registered
- Join Date
- Dec 2006
- Posts
- 839
Originally Posted by T.W.O.
Yes, this plus the Loctite meantioned will take care of this. You need to sleeve/ring it or you will not hold the bearing right, so no set screws. BTW this would b exactly how someone would repair a part like this that had the bearing spin and eat the housing out.
JessGOD Bless, and prayers for all.
-
10-21-2011, 06:19 PM #29
Registered
- Join Date
- Dec 2007
- Posts
- 118
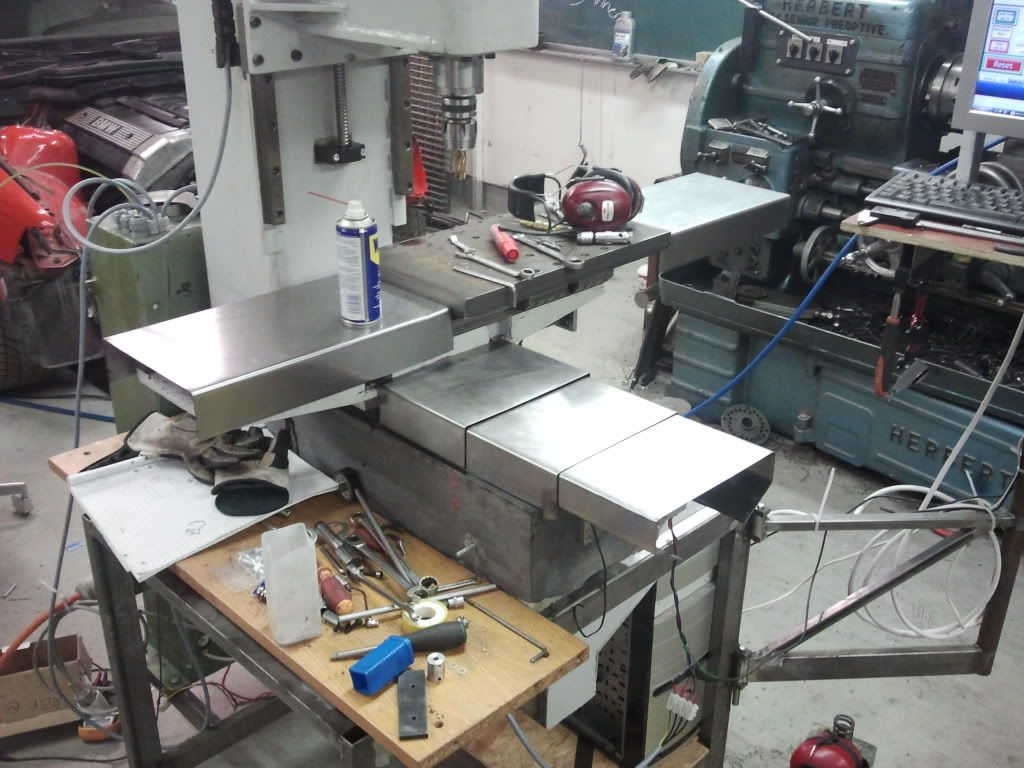
Maybe I am the only one who actually looked at the pictures does it look like there is enough material to bore this without the threads breaking through? A sleeve is the obvious way to fix an oversize bore if you have the wall thickness to make the bore bigger. Originally Posted by LUCKY13
Mike
-
10-22-2011, 05:35 PM #30
Registered
- Join Date
- Dec 2006
- Posts
- 839
You have a point there, doesnt seem to be enough room. IDK about counting on locktite along to hold the bearing right. I wander if the bearings can be ordered a few thou oversize?
JessGOD Bless, and prayers for all.
-
10-22-2011, 05:51 PM #31
Registered
- Join Date
- Mar 2008
- Posts
- 43
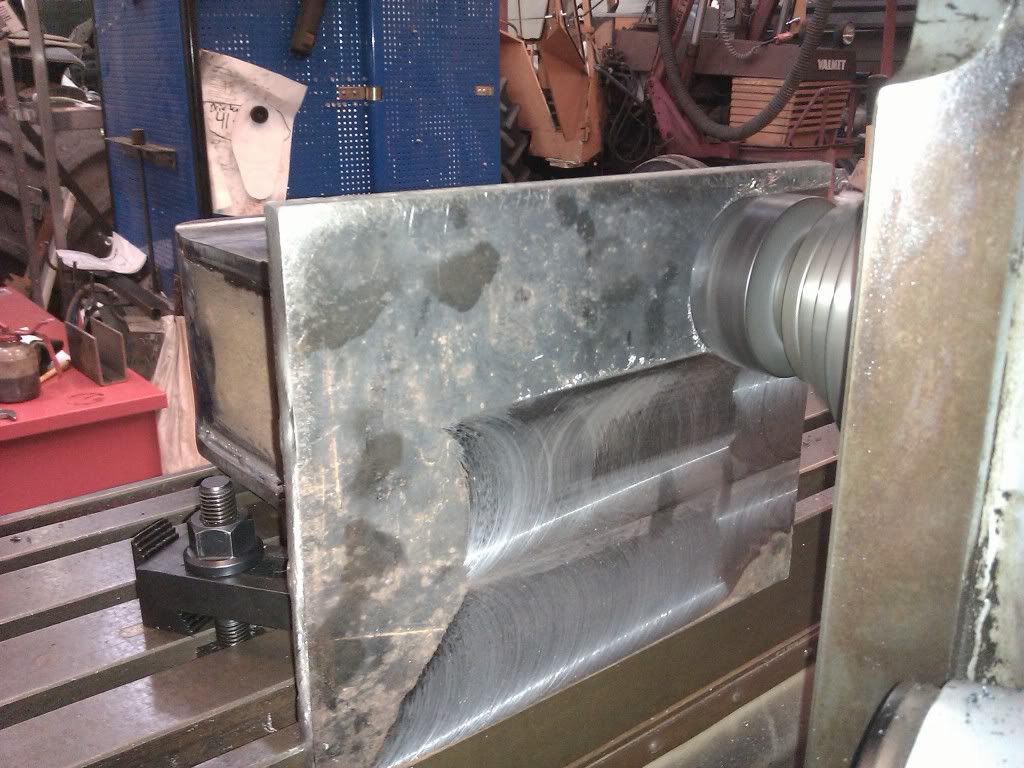
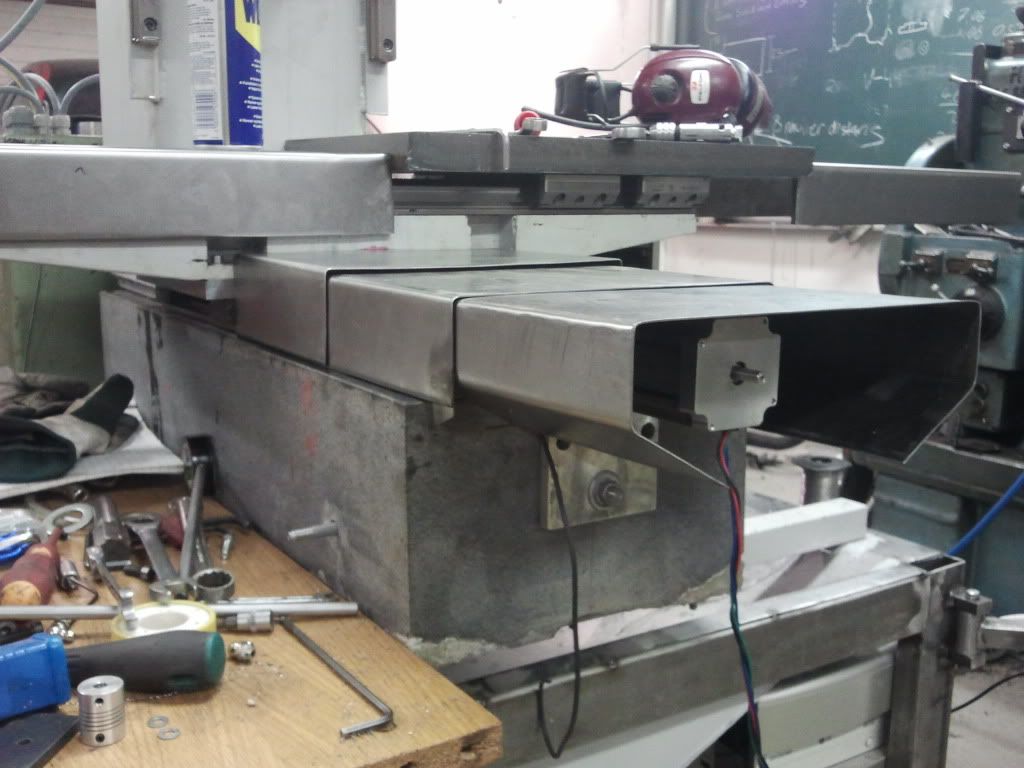
To clear things up, its the upper end bearing seat that is to big. Not the "business" end

-
10-25-2011, 08:43 PM #32
Registered
- Join Date
- Mar 2008
- Posts
- 43
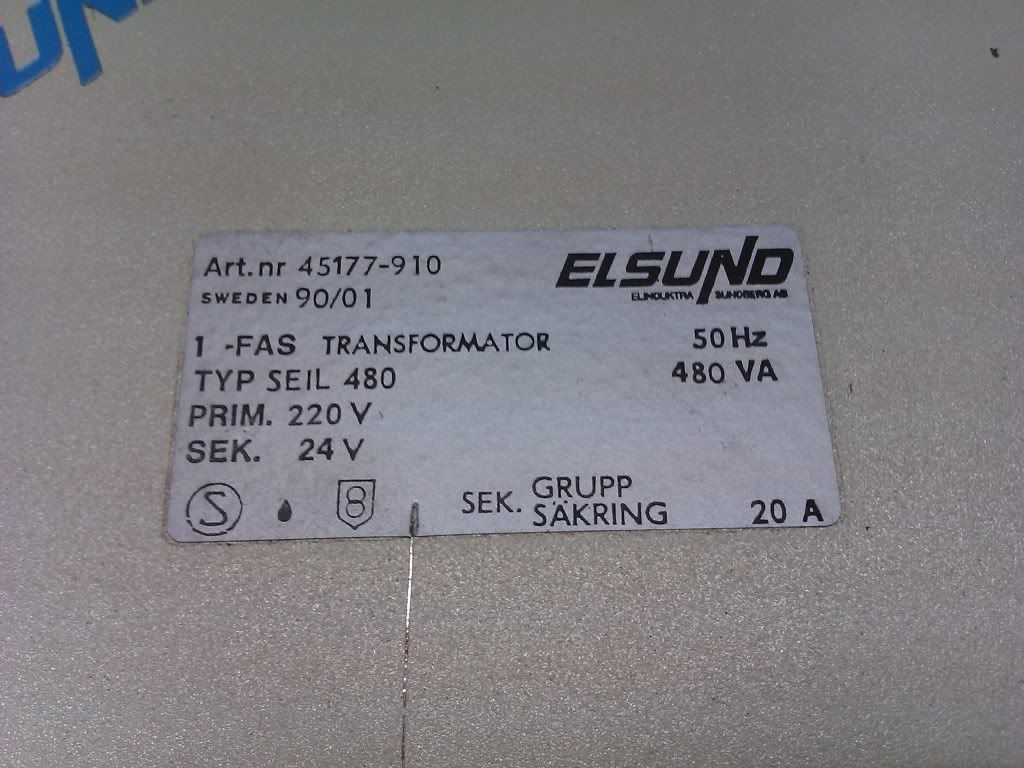
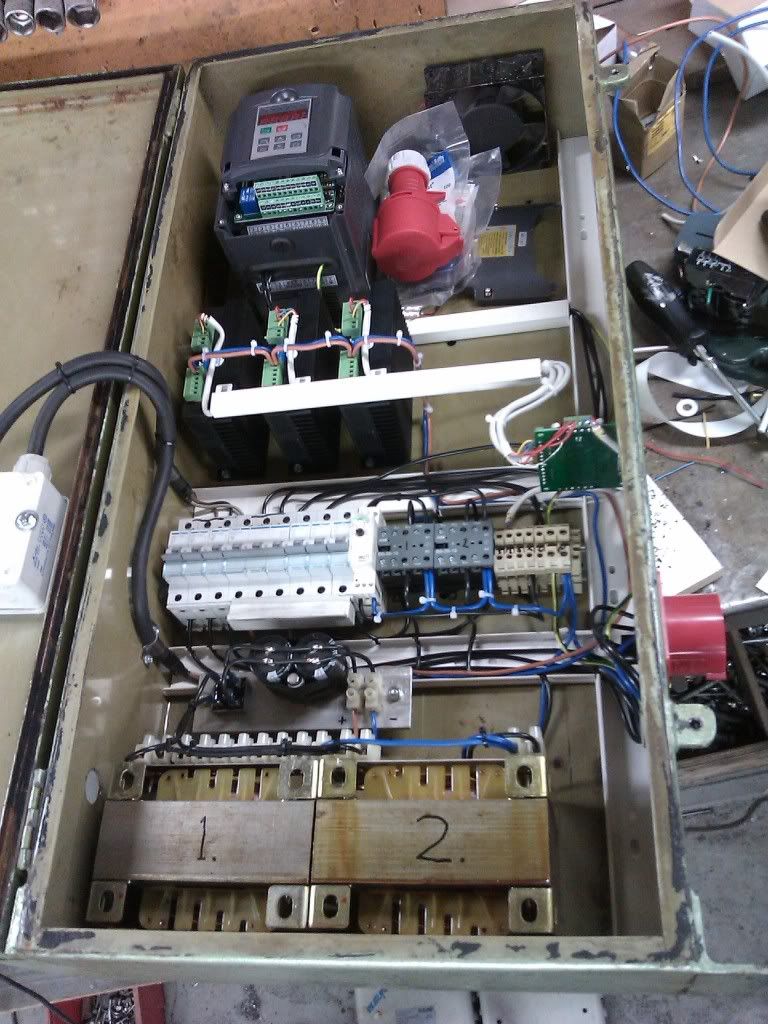
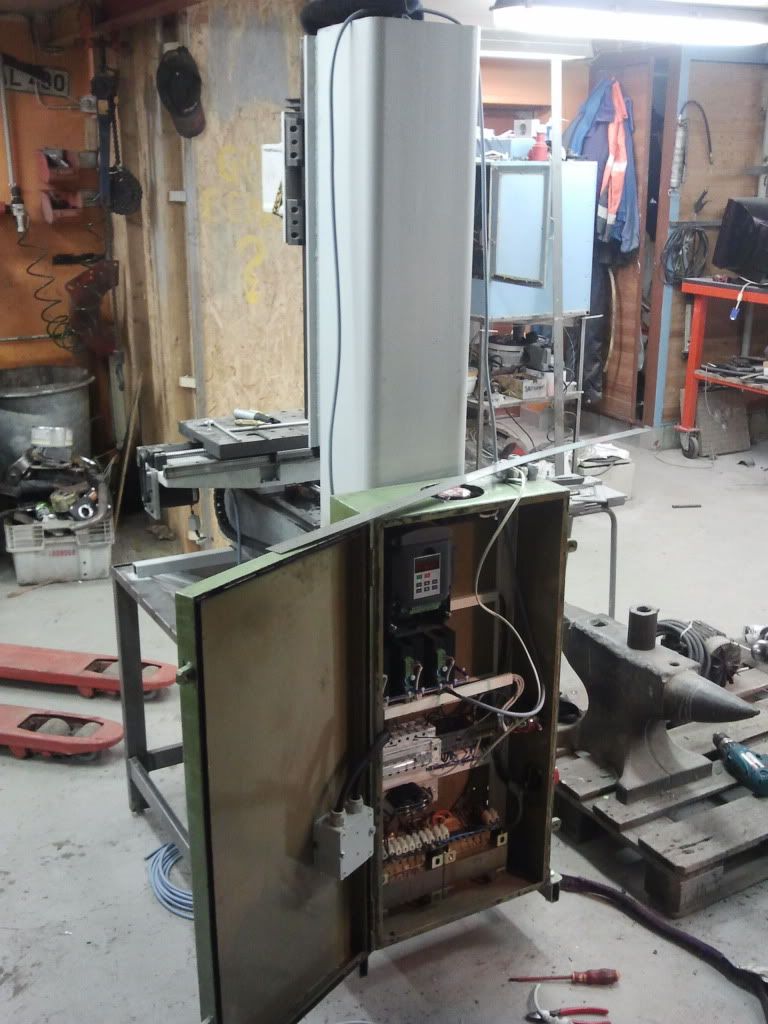
Small update. I've started with the electric cabinet (?)
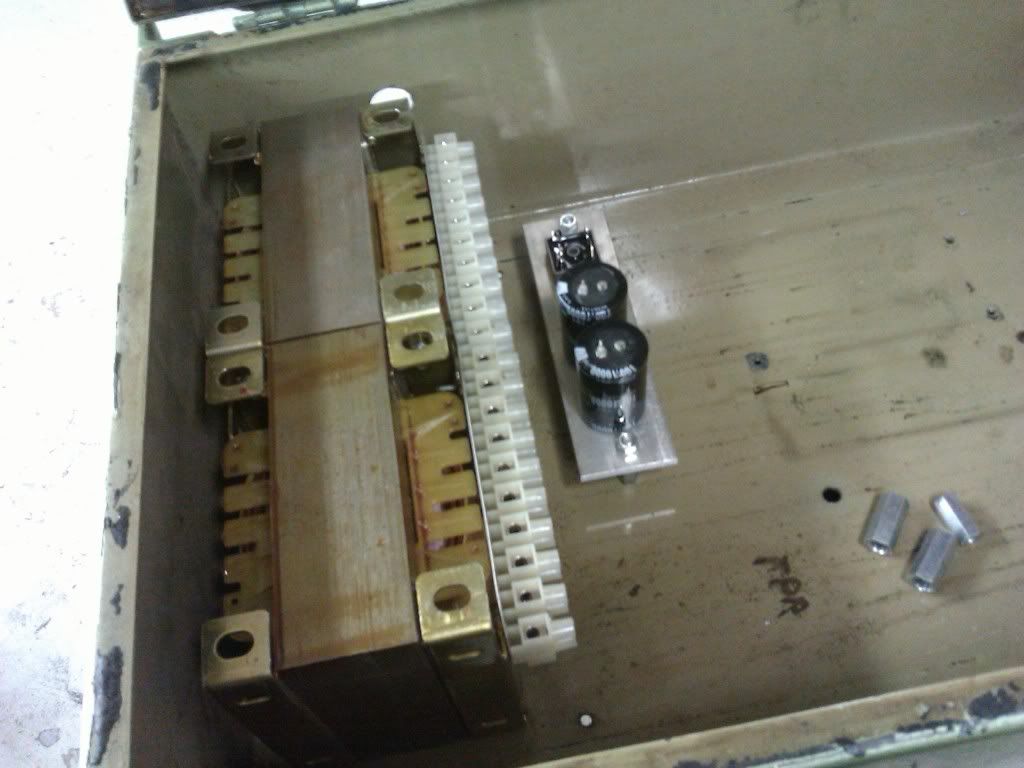
These are the transformers I'm using
-
11-28-2011, 06:32 AM #33
Registered
- Join Date
- Mar 2008
- Posts
- 43
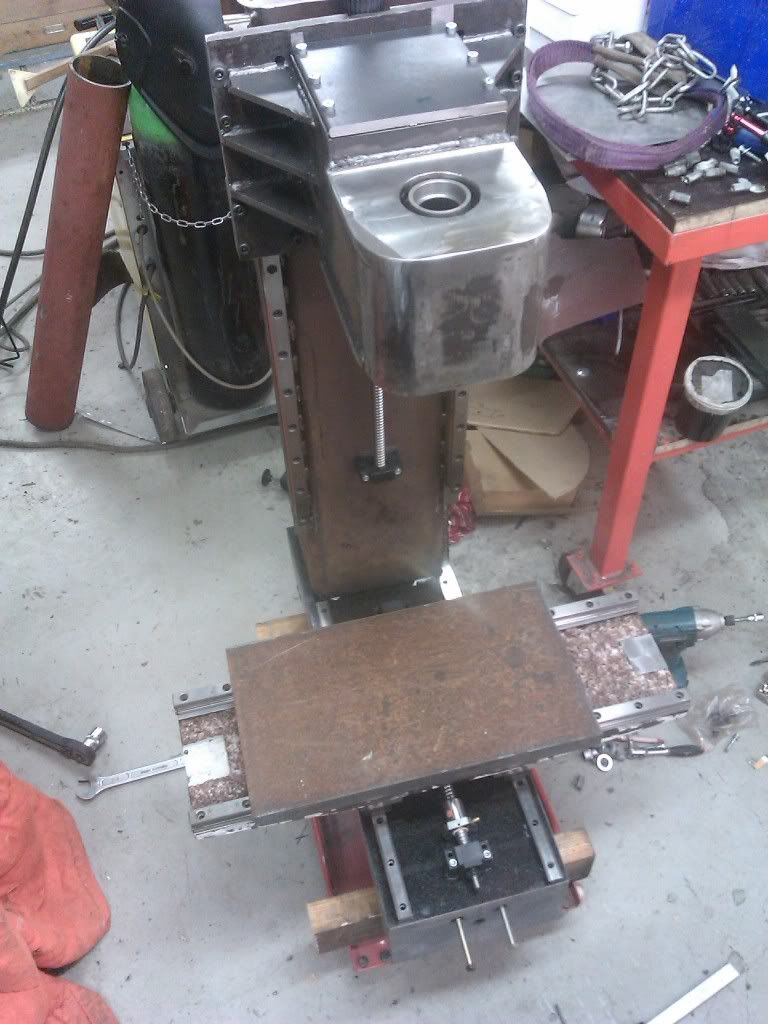
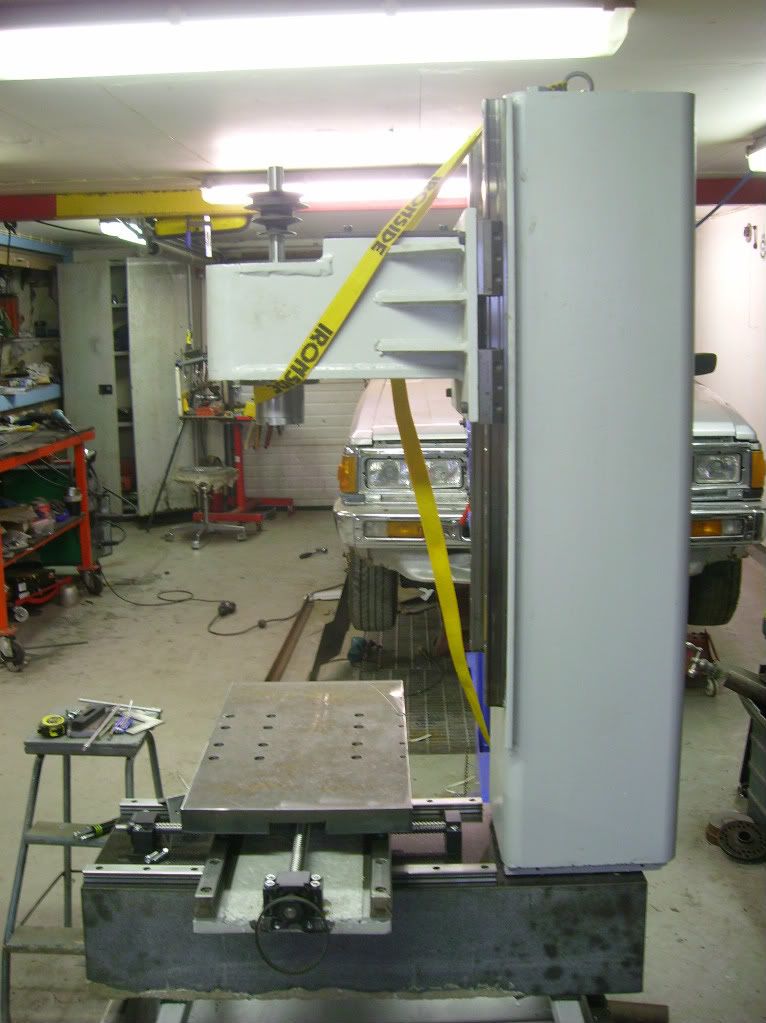
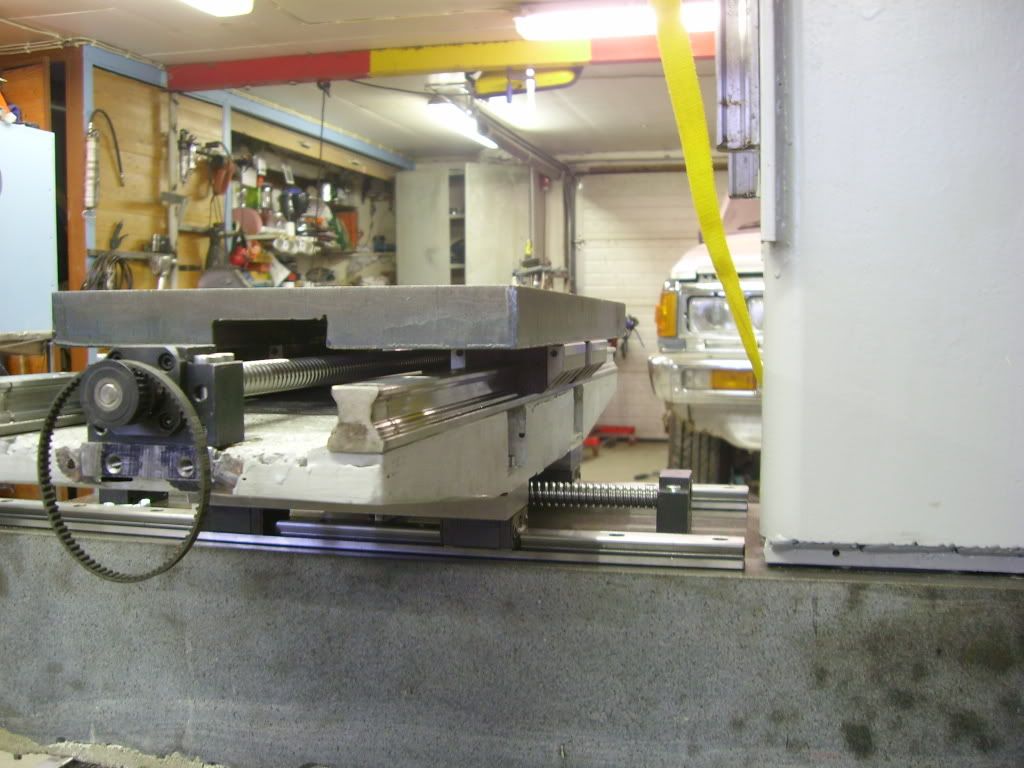
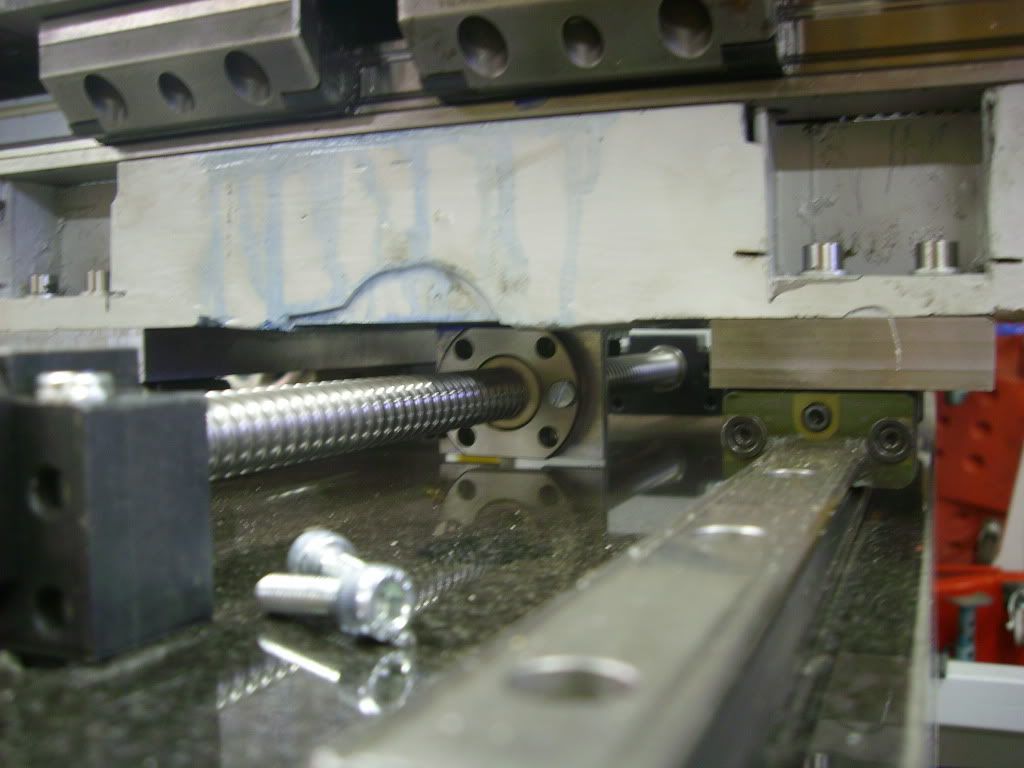
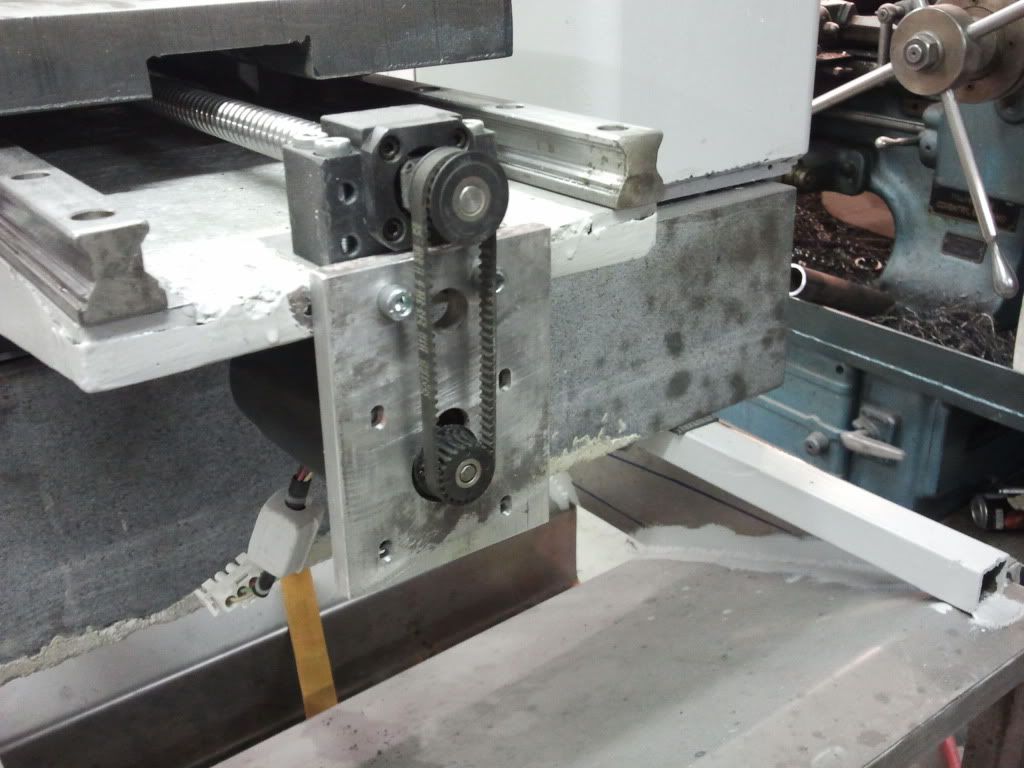
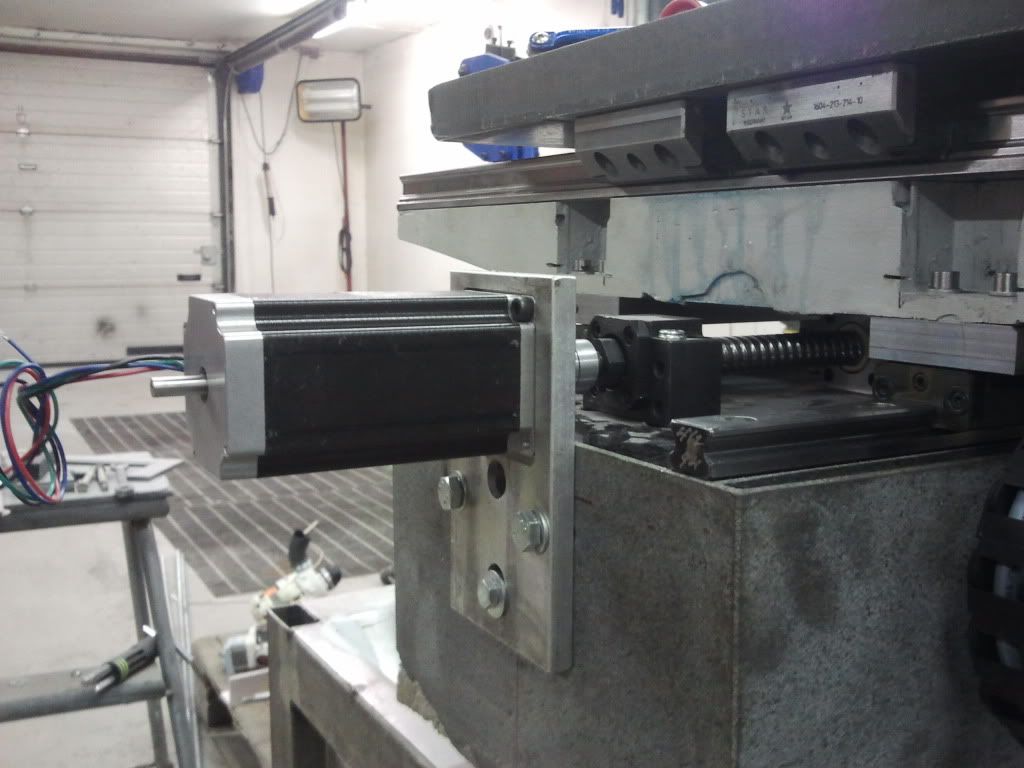
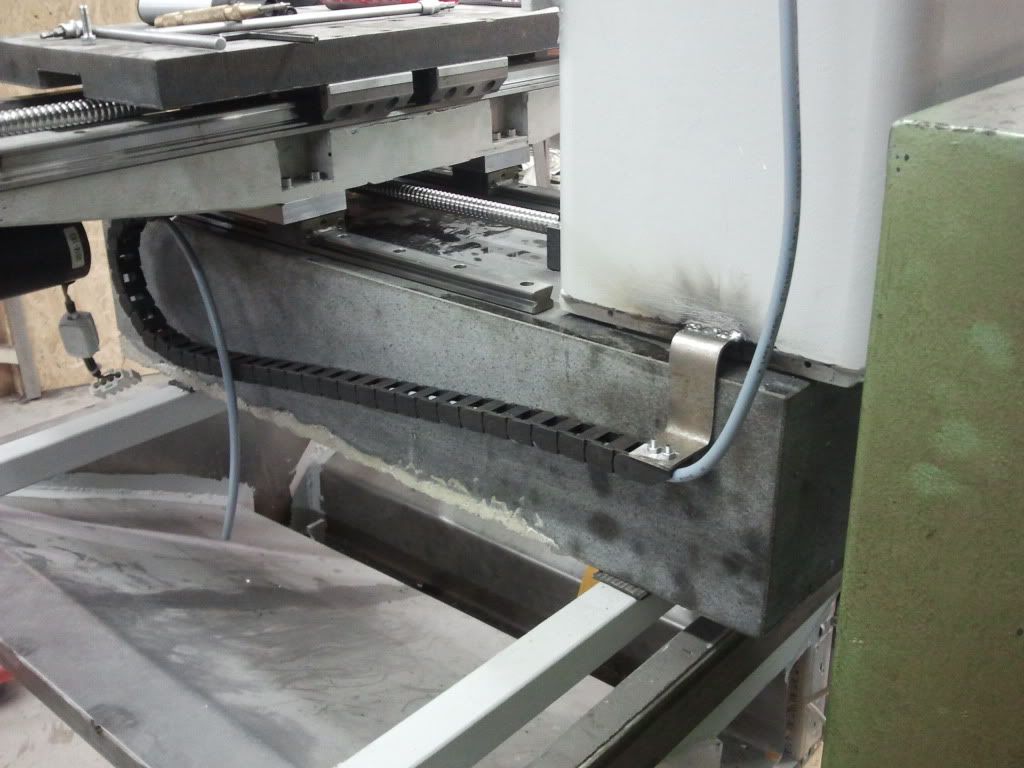
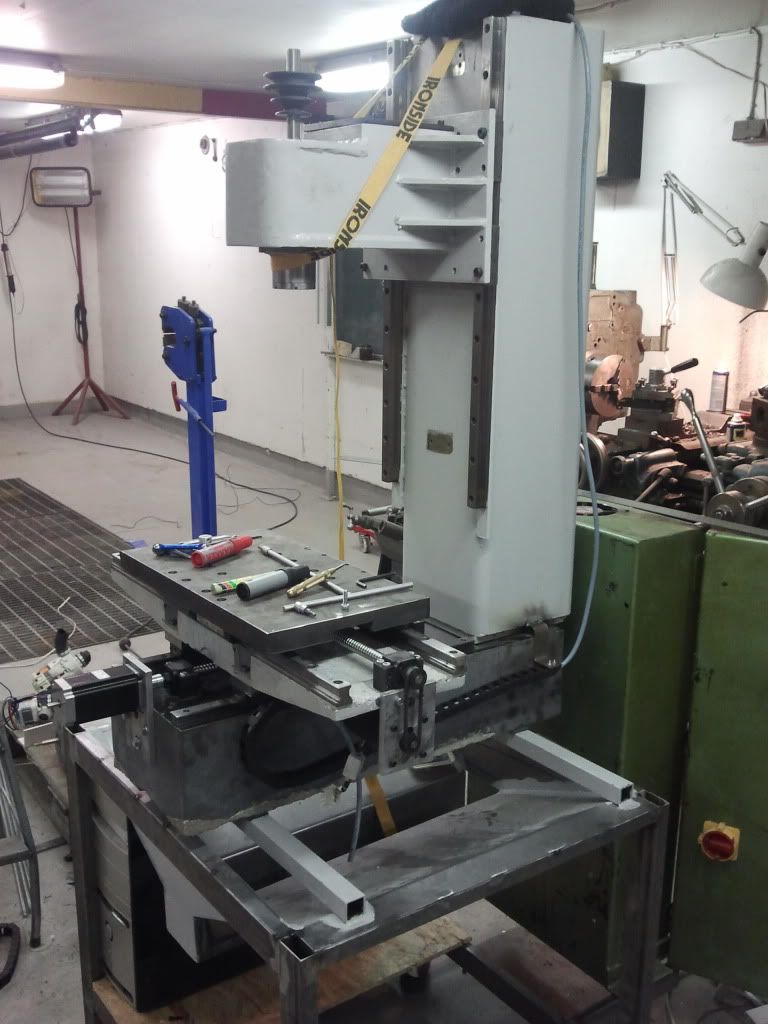
It has been a while since the last update but the machine has now moved for the first time. (video in the end)
Done some tapping (chair)
Some electrics
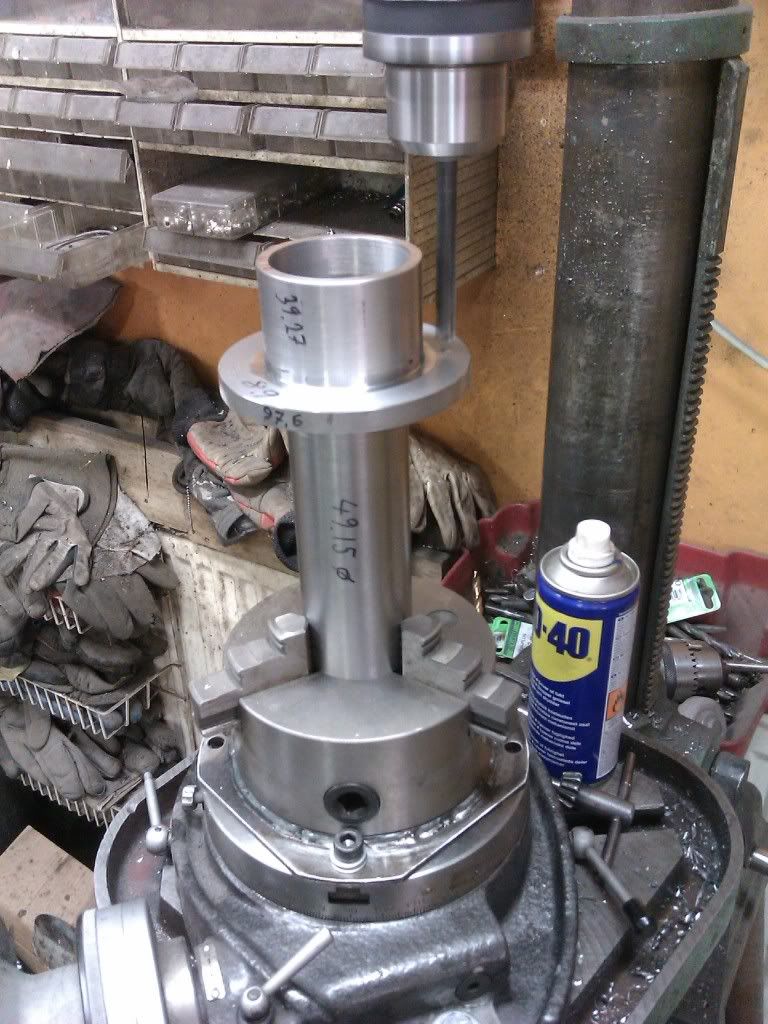
Machined some of the parts
Seems to fit
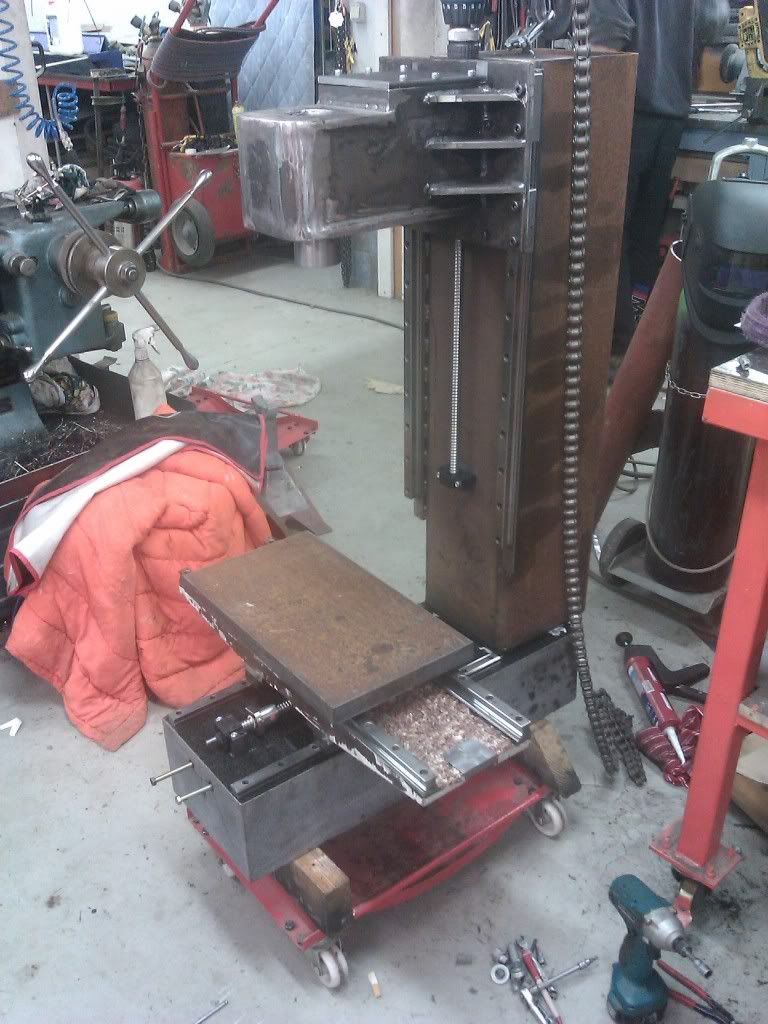
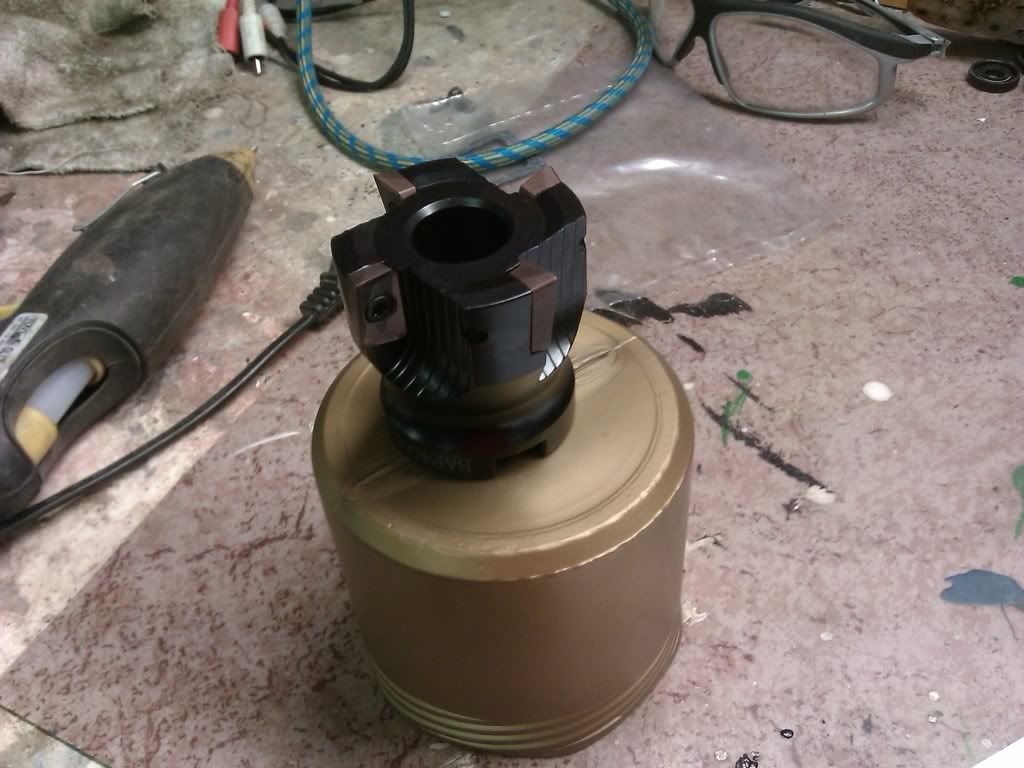
Bought a cheap face mill 55eur with 10 inserts
Paint
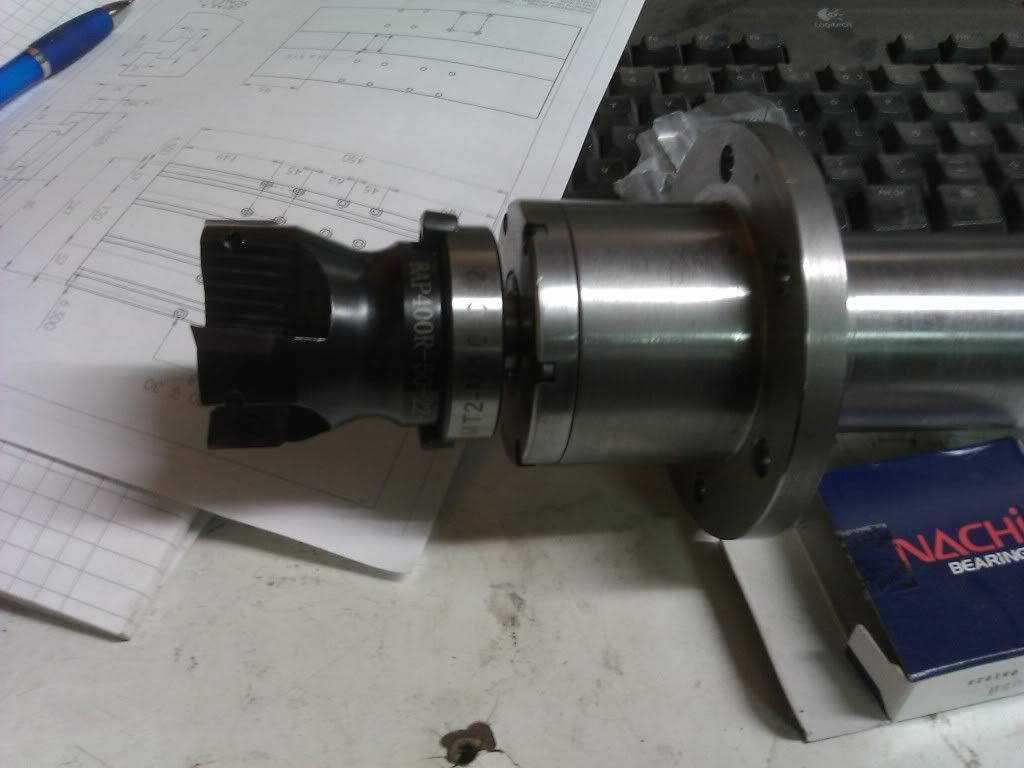
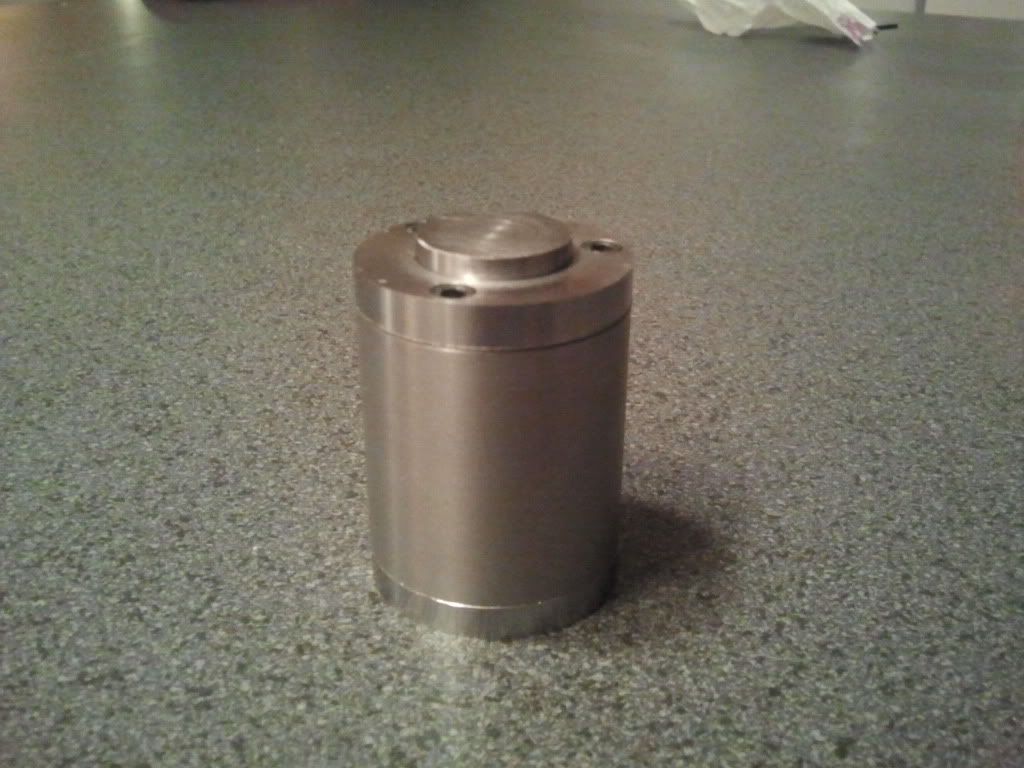
Finished the spindle. It's just a mt2 for now
Starting final assembly

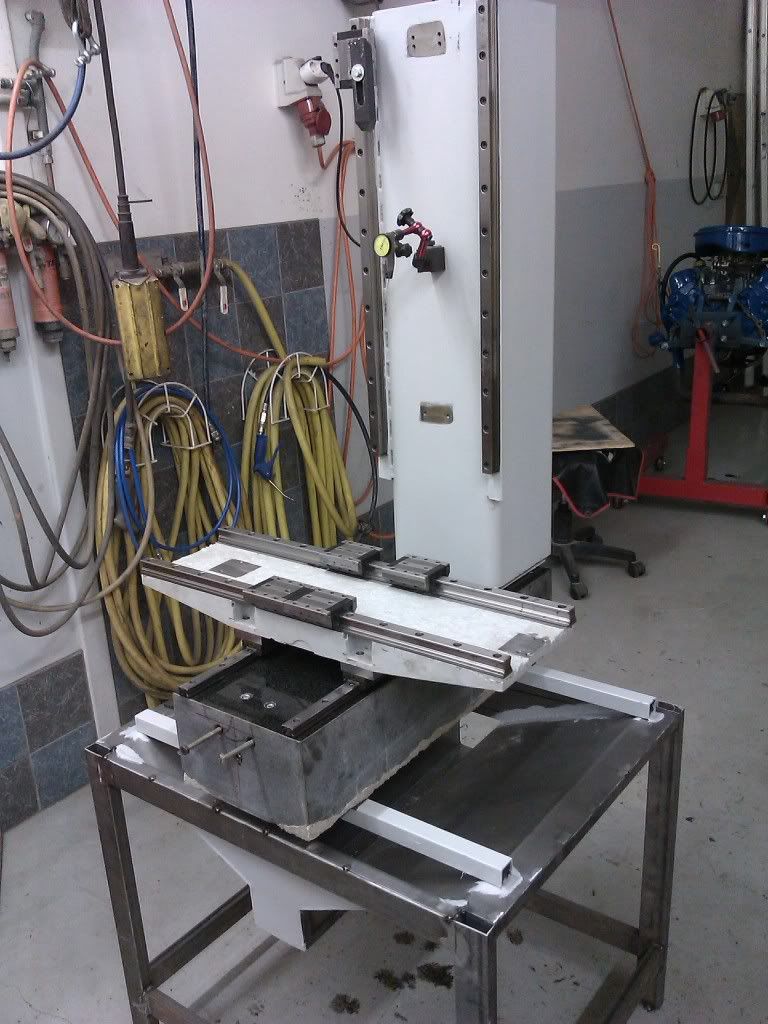
Tried out the new mill, works great
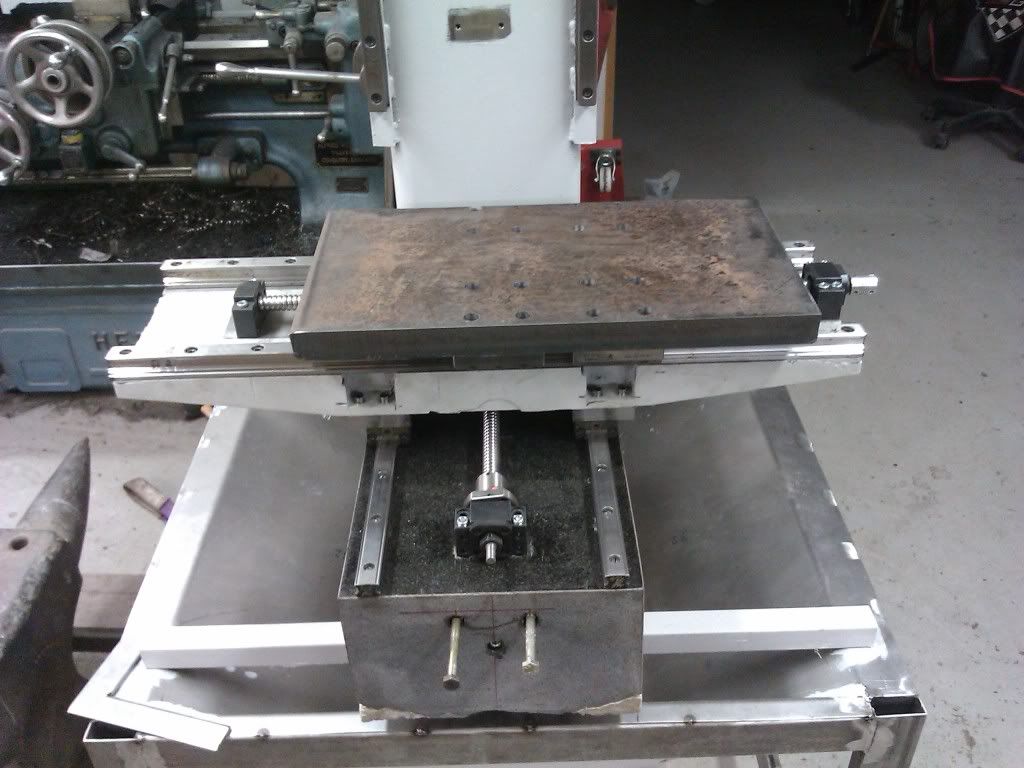
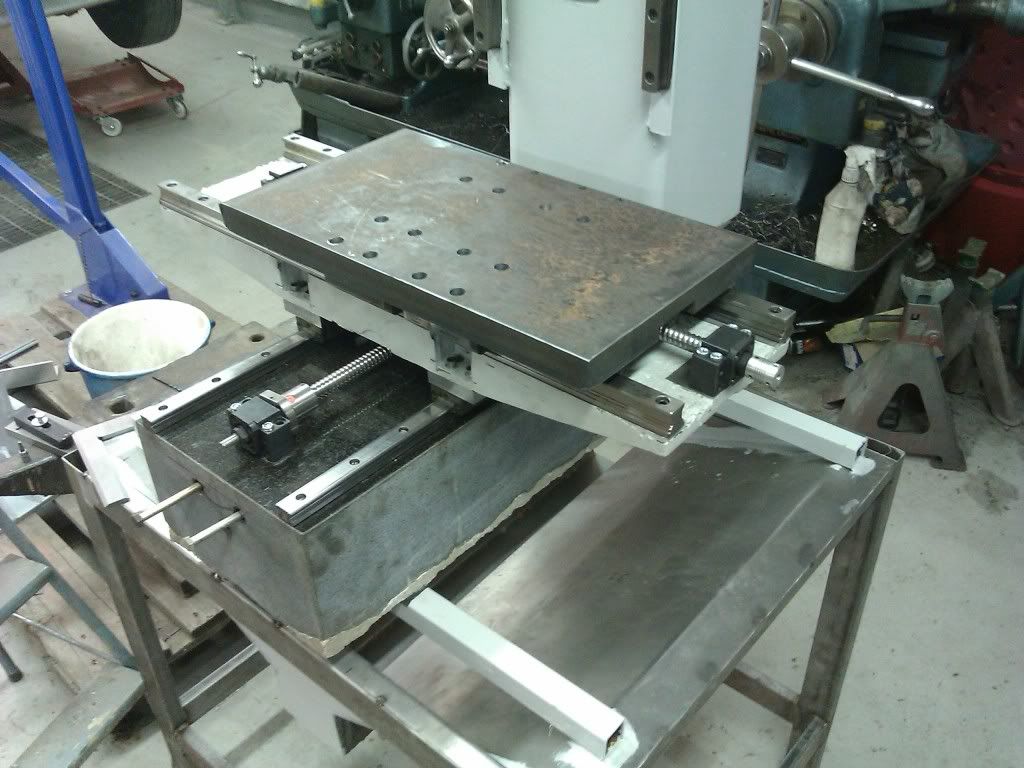
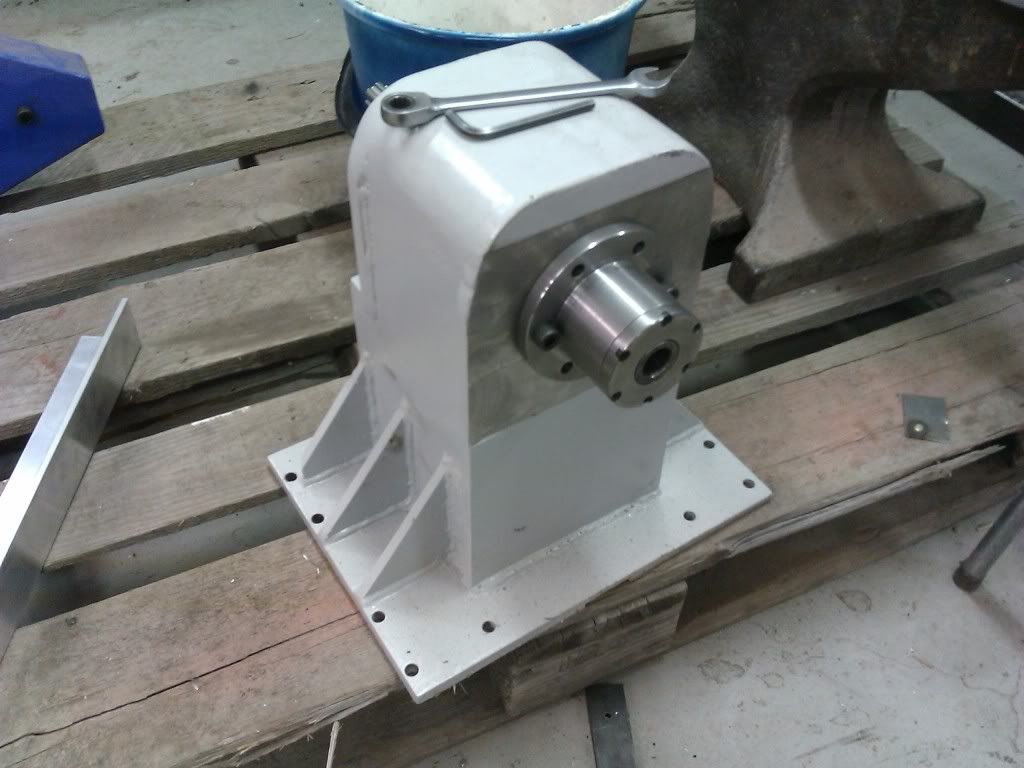
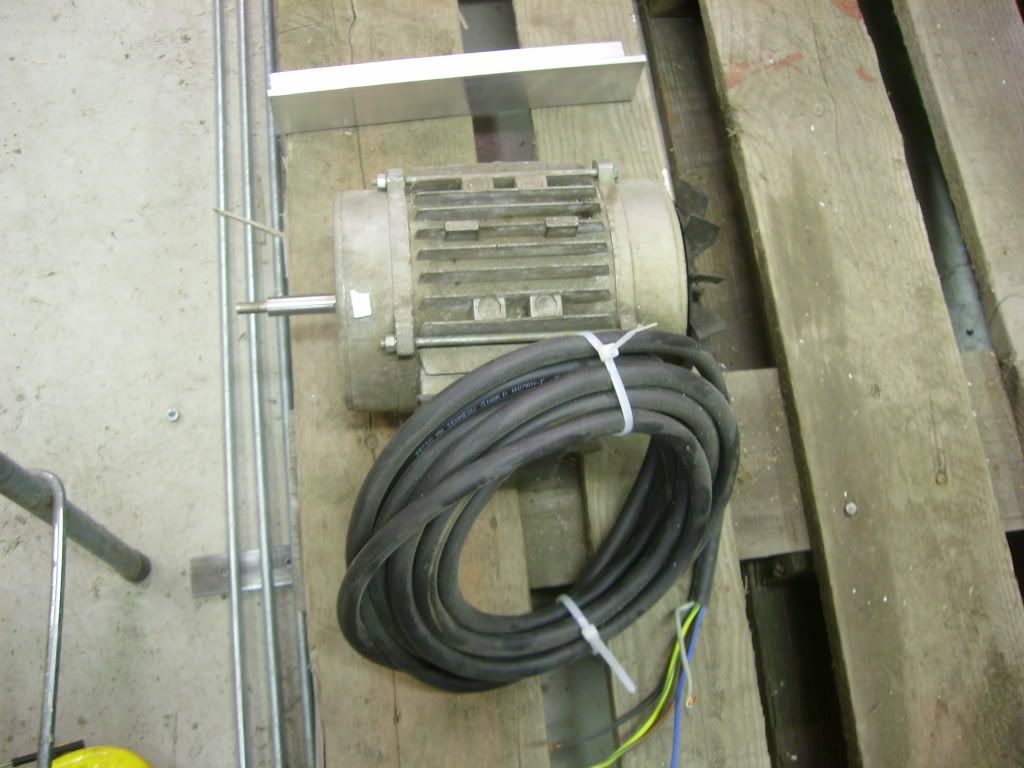
The 1.5 kW motor


And the video :banana:
[ame=http://www.youtube.com/watch?v=4coobzRqONg]3 Axis test.mp4 - YouTube[/ame]
-
11-28-2011, 07:08 AM #34
Registered

- Join Date
- Feb 2010
- Posts
- 331
looks pretty darn good. how did you get the shiny surface on the e/g?
-
11-28-2011, 11:39 AM #35
Gold Member
- Join Date
- Dec 2004
- Posts
- 1865
Looking good,
Can't wait to see it do some machining.
MikeWarning: DIY CNC may cause extreme hair loss due to you pulling your hair out.
-
11-28-2011, 05:02 PM #36
Registered
- Join Date
- Mar 2008
- Posts
- 43
Shiny surface?
-
11-28-2011, 05:33 PM #37
Registered
- Join Date
- Feb 2010
- Posts
- 331
like in this pic
-
11-28-2011, 07:19 PM #38
Registered

- Join Date
- Jul 2008
- Posts
- 199
He already wrote that he got a huge piece of granite for the base. It is granite not the e/g. Originally Posted by Zygoat
(check his initial posts)It is better to die for something than to live for nothing.
-
12-12-2011, 07:30 PM #39
Registered
- Join Date
- Mar 2008
- Posts
- 43
Heres a late update for you.
[ame=http://www.youtube.com/watch?v=kunIWL1Hqj0]Way covers - YouTube[/ame]
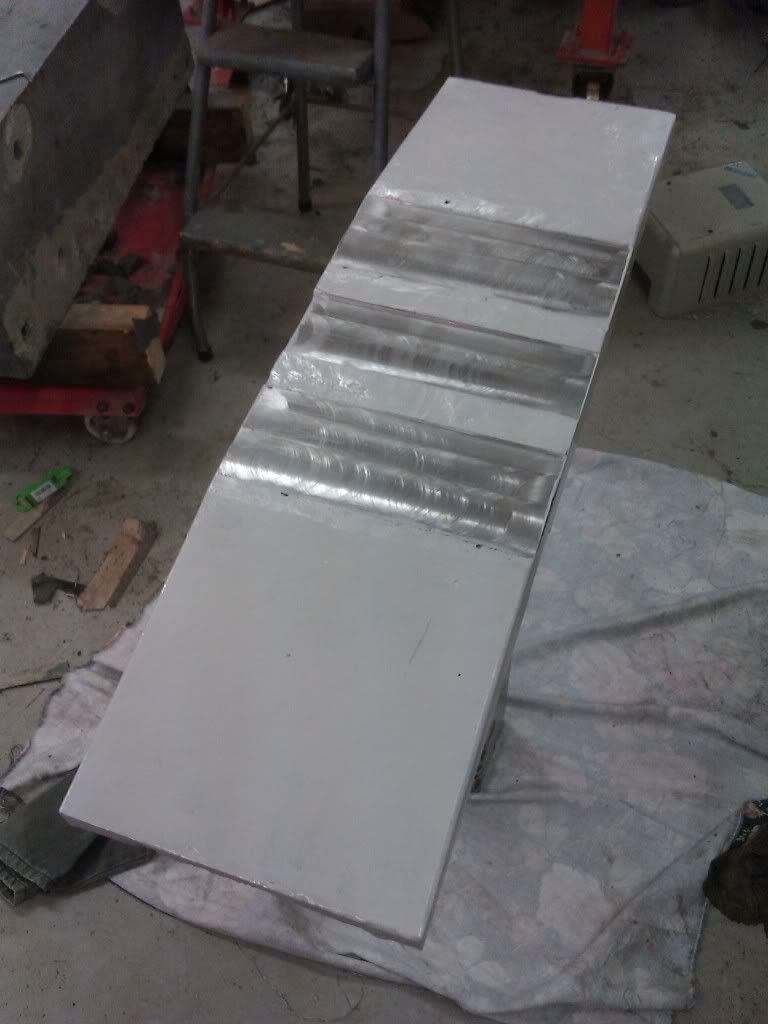
Milled the table flat (not with the mill in the spindle)
First real project with the mill. New pulleys for a HTD 8m belt.
I broke my last 4mm mill when milling the second pulley and now I have to wait for new to arrive..
Did another project while waiting
Had some problems hehe..

Didn't get a awesome surface finish..
[ame=http://www.youtube.com/watch?v=8EG2zOxmVeM]Cutting test 50mm face mill - YouTube[/ame]
If you want the latest info you can run this page trough google translate
Svenska ElektronikForumet • Visa tråd - Daniels stora fräs //It's alive! Nu med film
-
12-14-2011, 08:12 AM #40
Registered
- Join Date
- Mar 2004
- Posts
- 1306
Cool Build Thewho. Great to see someome doing something in Mineral epoxy rather than just theorising over it.
In Post #7 it looks like you used a pneumatic vibrator attached to the mould http://i1186.photobucket.com/albums/...926_215812.jpg
Is this the design with the bearing ball providnig vibration? How did it work out for you?
What were your thought about putting the unfinished side of the EG saddle uppermost? I would have thought that the unfinished part of a mould would be better hidden below.
What was the mould material? What mould release agents did you use, did they work well?Regards,
Mark

 Reply With Quote
Similar Threads
-
How to drill and face mill using table type horizontal boring mill
By SatishNaik in forum News AnnouncementsReplies: 0Last Post: 10-09-2013, 01:10 PM -
How boring, Face mill, End mill and Circular Interpolation done on Floor type HBM.
By SatishNaik in forum News AnnouncementsReplies: 0Last Post: 07-29-2013, 01:15 PM -
Home-Brewed CNC Bench Mill Using Siex X2 Mini-Mill Head
By fignoggle in forum Benchtop MachinesReplies: 18Last Post: 05-12-2009, 05:11 AM
