


Hi all. I bought the plans for a Momus machine from Ebay, mostly because it can cut aluminum. I started modeling up the parts and decided that instead of buying all of the material, I would cast the pieces that I needed using lost foam since I have a hobby foundry. I really wanted to use a 20 x 30 x 3.5 block of aluminum that I had from a previous machine, so the design started to deviate from there.
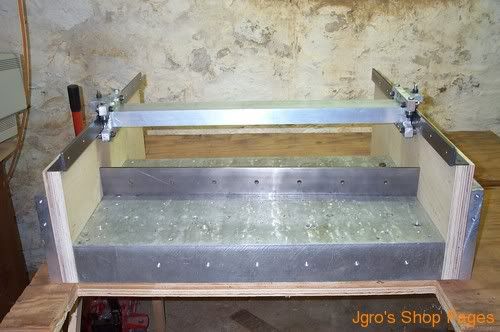
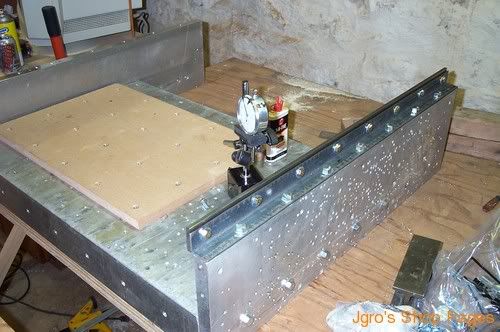
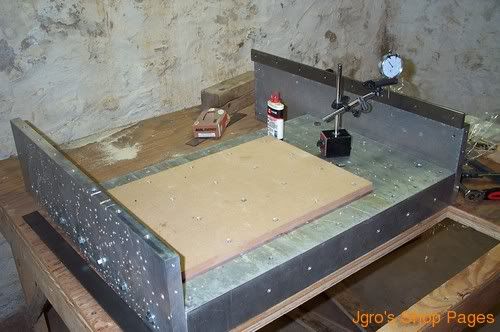
Here is the big block of aluminum with the sides. The sides are 1" thick and were used as a sacrificial surface on an old CNC machine. I turned the block the long way this time to get more travel out of the gantry axis. The hole in the table in front of the machine is so that I can make a fixture for making dovetails. The stock can hang down below the table. When not in use, I'll make a door for it to keep the dust contained. There will be a full enclosure around the machine when it is completed.
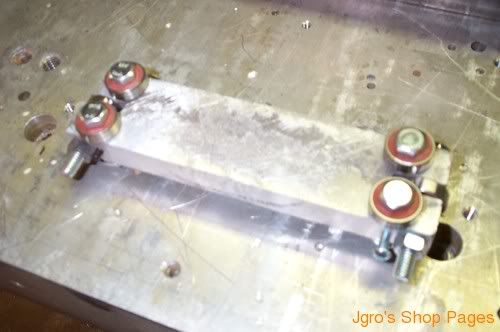
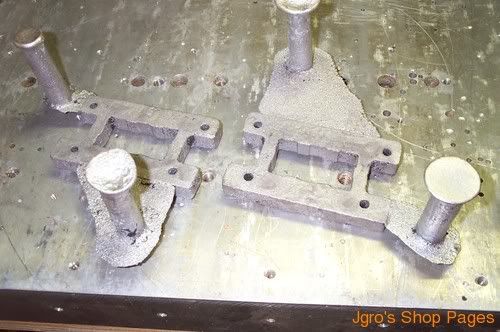
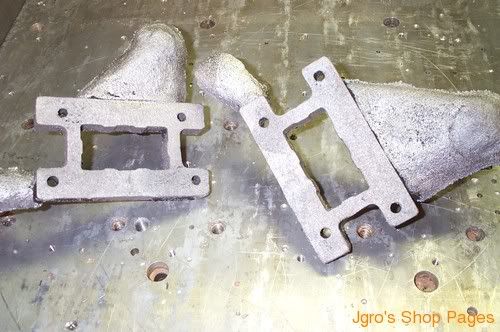
Here are the left and right carriages after casting. The surface finish did not turn all that great, but the parts are functional.
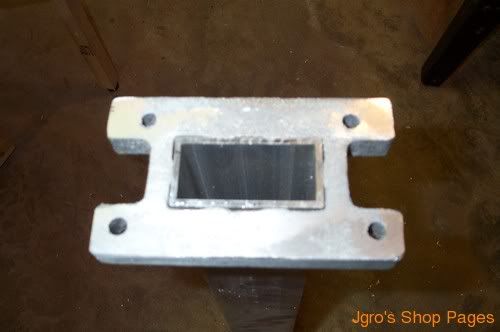
After some filing and sanding on the disk sander. I filed the inside to fit the tube. It will be held onto the tube with 4 screws that are screwed in from the inside.
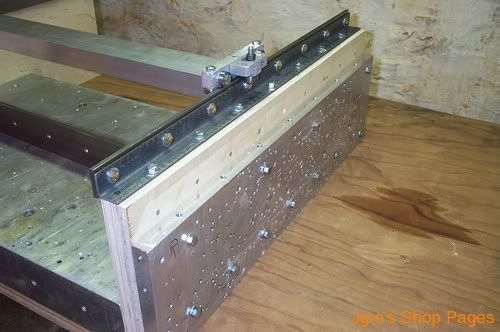
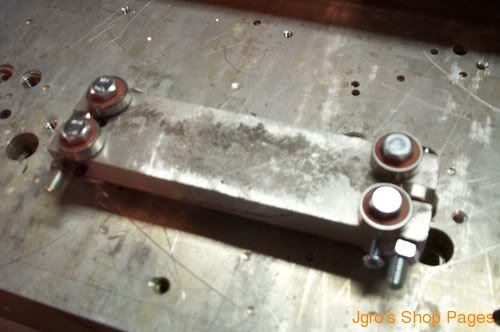
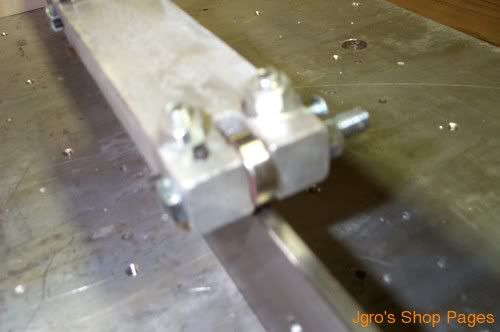
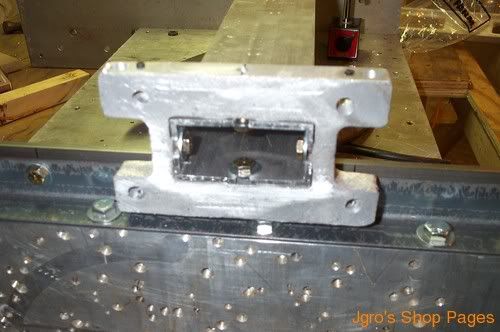
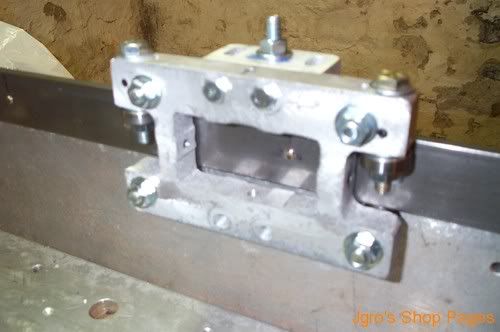
The right carriage all machined up and assembled.
http://i1094.photobucket.com/albums/i450/jgroesch/DCP_2513.jpg[/IMG]
Thread: Momustein
Results 1 to 12 of 12
-
05-22-2012, 03:27 PM #1
 Gold Member
- Join Date
- Jul 2003
- Posts
- 196
Momustein
http://jgroshoppages.blogspot.com/
-
05-22-2012, 03:28 PM #2
Gold Member
- Join Date
- Jul 2003
- Posts
- 196
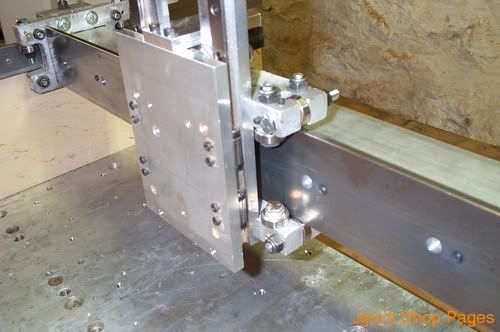
I ran into a design problem after getting the carriages done. I assembled the two carriages to the gantry tube and placed the assembly on the base. Something didn't look right. I took a measurement from the base to the gantry tube and only had 4.5" on clearance. My cad model showed 6.5". After digging into it, I figured out that my cad model for the sides was incorrect. To fix it, I glued two pieces of 3/4" birch veneer plywood together and cut them out to the proper dimensions. I then sandwiched the plywood between the aluminum sides and the base. I added some lag bolts that go through the aluminum sides and into the plywood.
 http://jgroshoppages.blogspot.com/
-
05-22-2012, 03:30 PM #3
Gold Member
- Join Date
- Jul 2003
- Posts
- 196
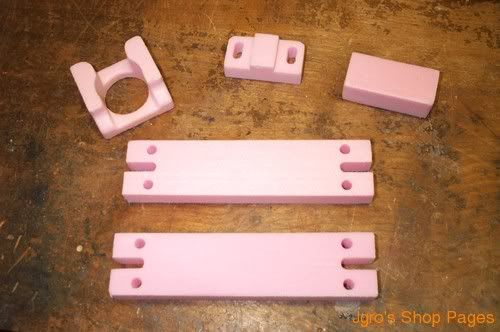
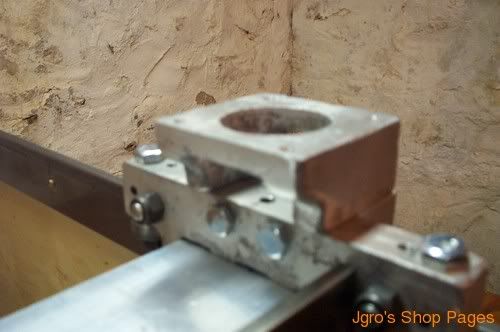
Here are the foam patterns and castings for some of the carriage parts and the linear bearings that will be used on the gantry. The design for the linear bearings is the same design as what Fine Line Automation sells.

 http://jgroshoppages.blogspot.com/
-
05-22-2012, 03:32 PM #4
Gold Member
- Join Date
- Jul 2003
- Posts
- 196
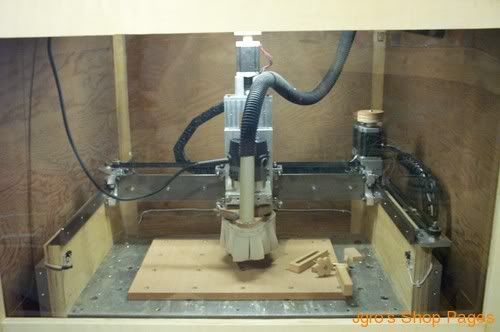
I decided to use an existing Z Axis assembly from a previous machine. I upgraded it from a 1/2-10 Acme thread to a 1/2-8 2 start Acme thread.
 http://jgroshoppages.blogspot.com/
-
05-22-2012, 03:34 PM #5
Gold Member
- Join Date
- Jul 2003
- Posts
- 196
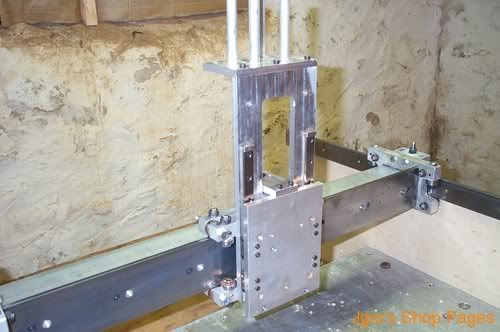
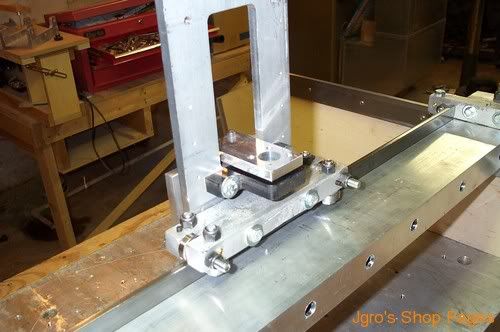
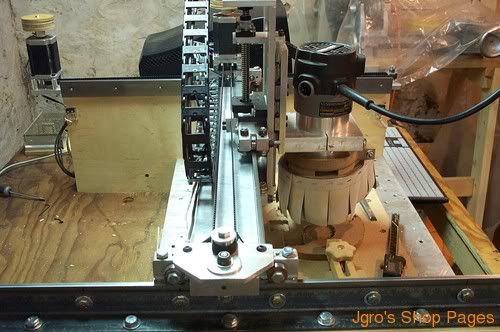
The Y Axis motor mount was an old motor mount I had created for a previous machine. I just had to add some holes to it and add some tapped holes to the angle iron that is supporting the ways.
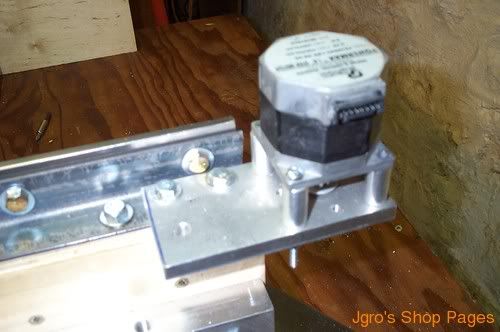
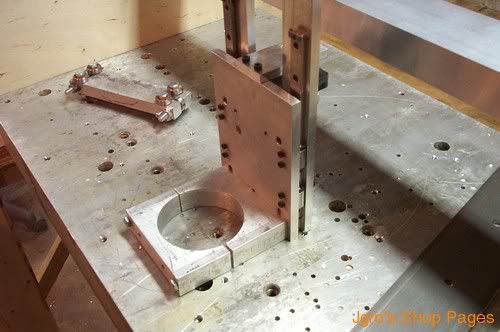
For the X Axis, I created a foam pattern and cast it. You can see the foam pattern in this picture in the upper left.
Here it is mounted to the machine.
 http://jgroshoppages.blogspot.com/
-
05-22-2012, 03:53 PM #6
Gold Member
- Join Date
- Jul 2003
- Posts
- 196
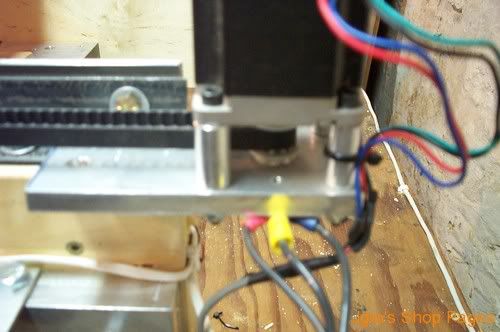
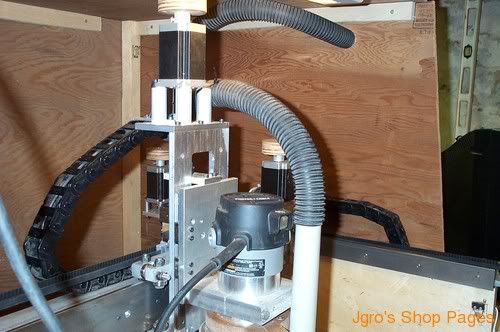
I had some IGUS cable guides lying around, so I decided to use them on this machine.
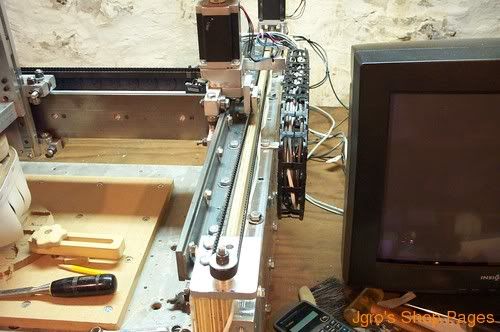
I could not get EMC to work with only one switch that worked for both limit and home switch, so I wired limit and separate home switches for the X & Y Axis. The switch mounts for the gantry were made from Delrin that I had laying around.
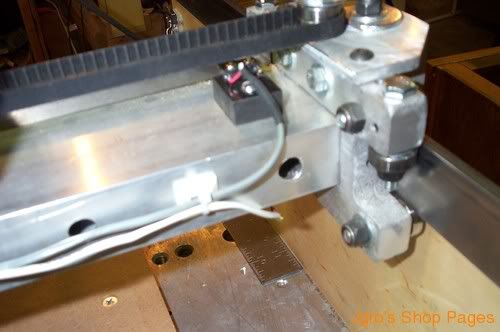
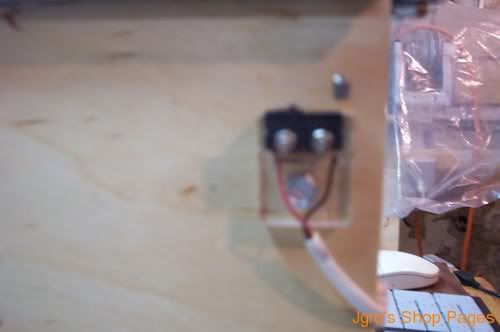
For the switches that were mounted to the base, I made some mounting plates from Lexan

 http://jgroshoppages.blogspot.com/
-
05-22-2012, 03:58 PM #7
Gold Member
- Join Date
- Jul 2003
- Posts
- 196
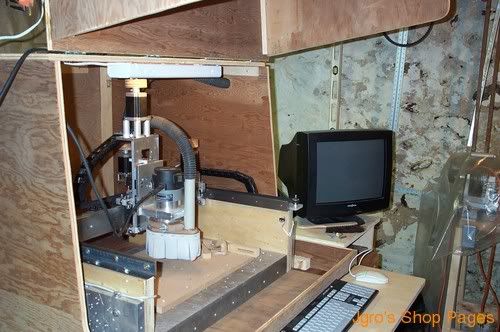
Finally, the enclosure. The door was made from pine boards with a plexiglass window.
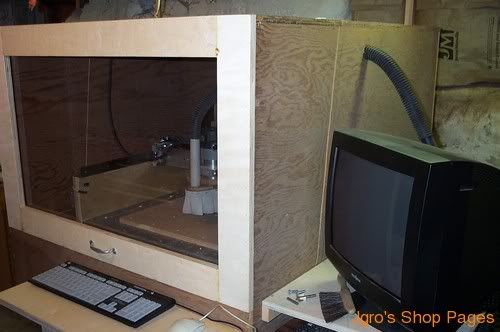
Aview through the window. I attached a small under cabinet light on the inside of the enclosure.
The door in the open position.
A close-up showing how I routed the vacuum hose for the shop-vac.
 http://jgroshoppages.blogspot.com/
-
05-22-2012, 09:17 PM #8
Registered
- Join Date
- Aug 2011
- Posts
- 17
Looks great!
-
05-22-2012, 10:40 PM #9
Registered
- Join Date
- Aug 2011
- Posts
- 0
Nice jgro.
Could you maybe upload some videos cutting aluminium with it ?
-
05-23-2012, 05:46 PM #10
Gold Member
- Join Date
- Jul 2003
- Posts
- 196
Thanks guys. emptystr, I'm still working out bugs, mainly with EMC (LinuxCNC), so I haven't even tried machining aluminum ...yet. Hopefully soon.
jgrohttp://jgroshoppages.blogspot.com/
-
05-23-2012, 08:08 PM #11
Registered
- Join Date
- Dec 2006
- Posts
- 202
Awesome.
The castings are fantastic. I've always wanted to try lost foam. I'd love to see more about your foundry setup.
-Bob
-
05-23-2012, 09:51 PM #12
Gold Member
- Join Date
- Jul 2003
- Posts
- 196
Thanks. i've got some info on my blog: Jgro's Shop Pages
jgrohttp://jgroshoppages.blogspot.com/

 Reply With Quote