


I thought I would make a thread on the conversion of my SX3 to a CNC-Manual machine. Im calling it a cnc-manual as it is the only mill I will have in the workshop and therefore it needs to be quick and easy to use like a manual with all the tricks of a full functioning machining center. I have taken inspiration from many conversions documented on this site so I must thank all of you. Any comments or questions are welcome. I originally bought the machine to keep as a manual until I finished university and had some more money but that changed when the issues stated appearing, more to follow....
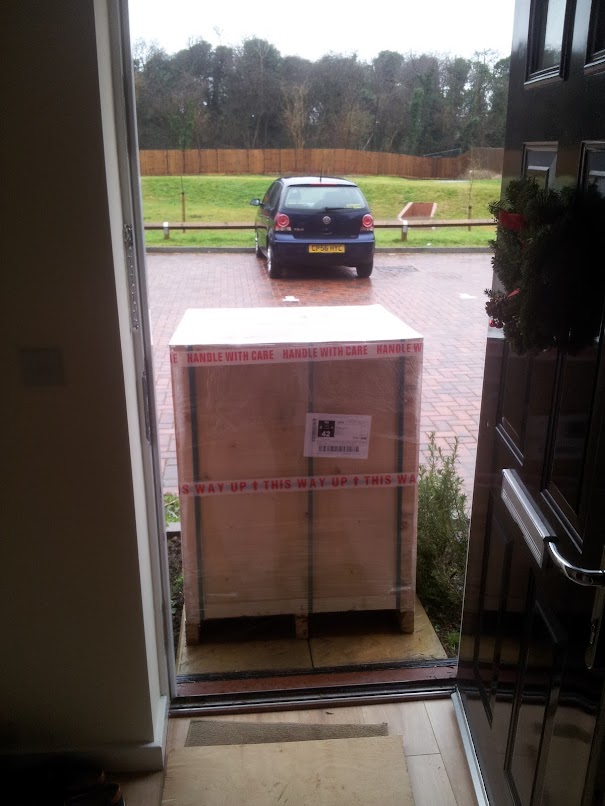
I bought my standard SX3 from the sieg importers - arceuro trade in the UK and had it delivered just after Christmas right onto my doorstep. Literally onto my doorstep as the driver wouldn't put it in the garden due to the narrow access.
This actually blocked the enterence to my house and I had to climb over it to get out.
Just to set the scene, here in the UK space is stupidly expensive and my workshop is a 10ft x 8ft shed that is shared with the lawn mower and the only access apart from through the house is a long narrow walk way which was too narrow for the massive box.
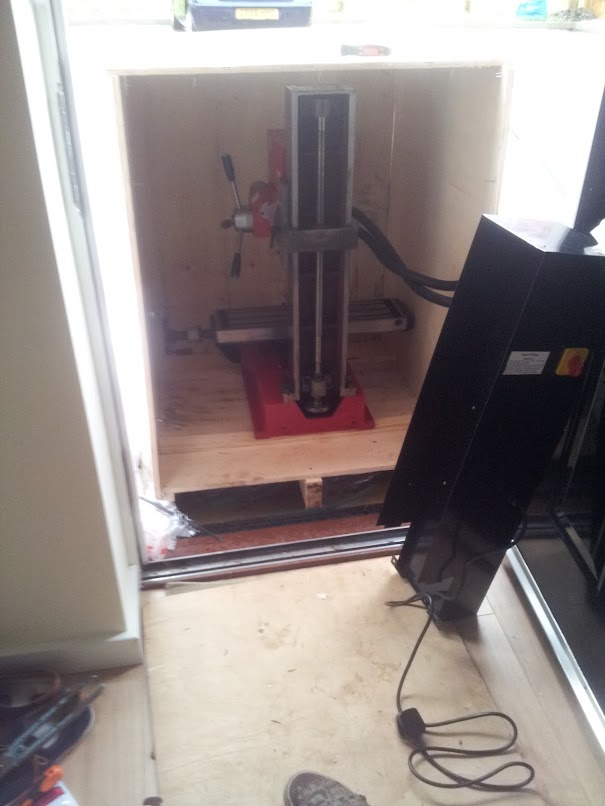
I couldn't move the box as it was too heavy and it was blocking the door and it started to rain. So all I could do was to remove the front panel and start to dismantle in the street. The girlfriend wasn't too pleased at this point and its a good job we have wooden floors!
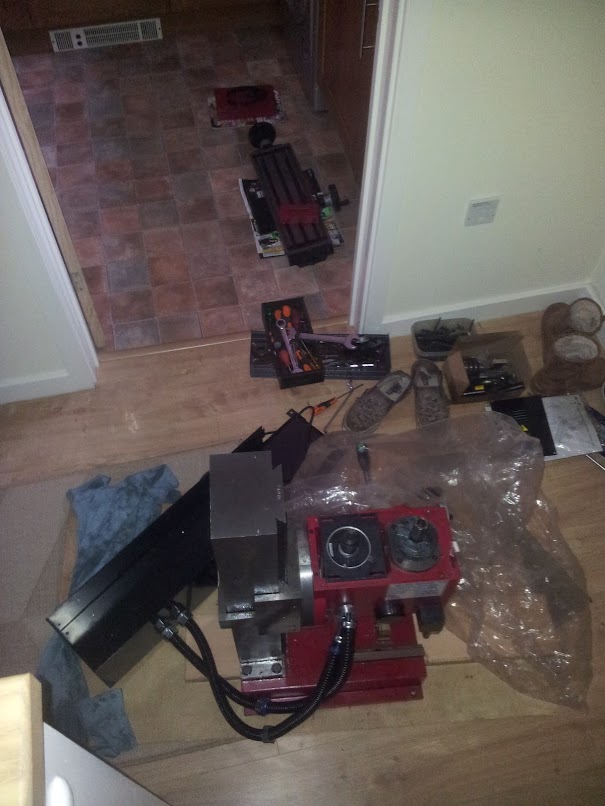
I was able to remove the chunky parts and drag it into the hallway to close the front door.
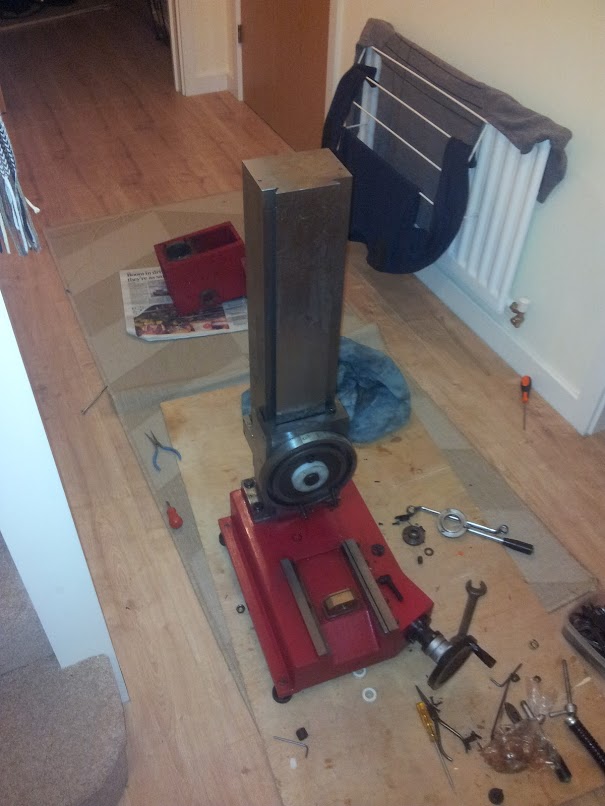
After getting it own to a state where me and friend could lift it, it was moved through the house into the shed. That, sadly was the last time that the milling machine was in one piece, I would love to be as oblivious to the problems hidden as I was then. I had fallen into the trap of the cheap chinese mill.
At this point I have to say that these machines are cheap, BUT some of the things I found were just plain baffling and probably took more time to cock up to the level that they did than it would've taken to fix properly. So, I started to re-assemble thinking that this was going to be a good manual machine. I then had a closer look at the Z axis gib strip, being the first thing out of the box after the degrease, and found that the sliding surface looked like it had been scraped with an angle grinder. I have circled the 5-6 spots providing the mating surface.
This was not helped by the fact that the tapers between the sliding head and the gib didn't match so an even pressure couldn't be applied anyway. There are people on here that get away with much scraping and cleaning up but I decided to scrap it and make a new parallel gib from gauge plate with proper adjusting screws. This is were having access to a university workshop and bridgeport type machines came in handy.
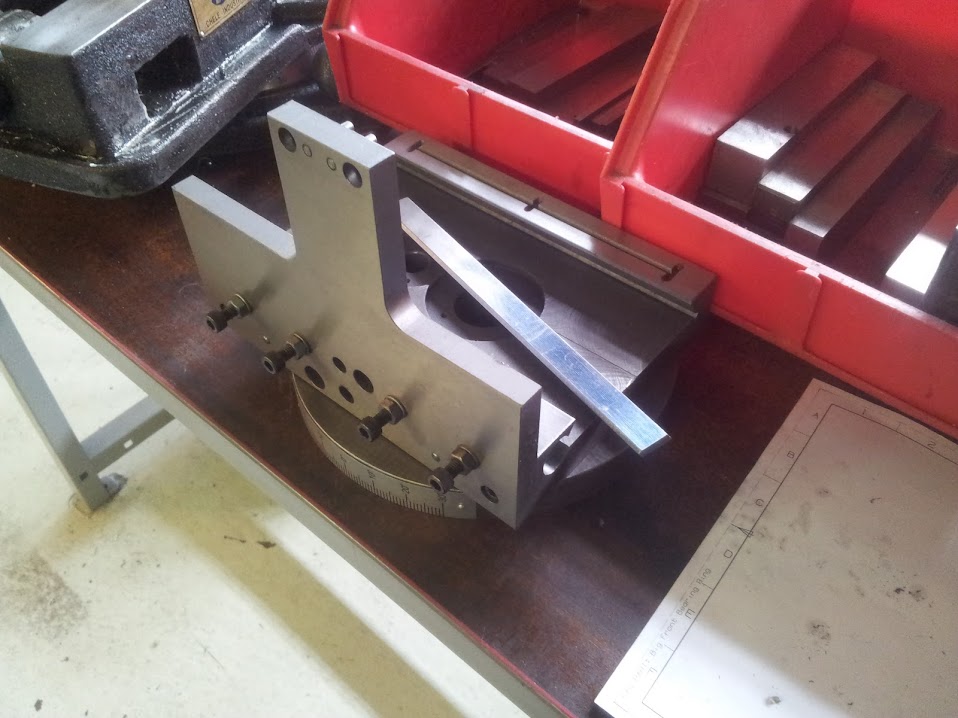
The taper was totally removed and made parallel. I had to tip the head of the mill over to recreate the 55 degree dovetail on the column. Any idea why they use 55 degrees?
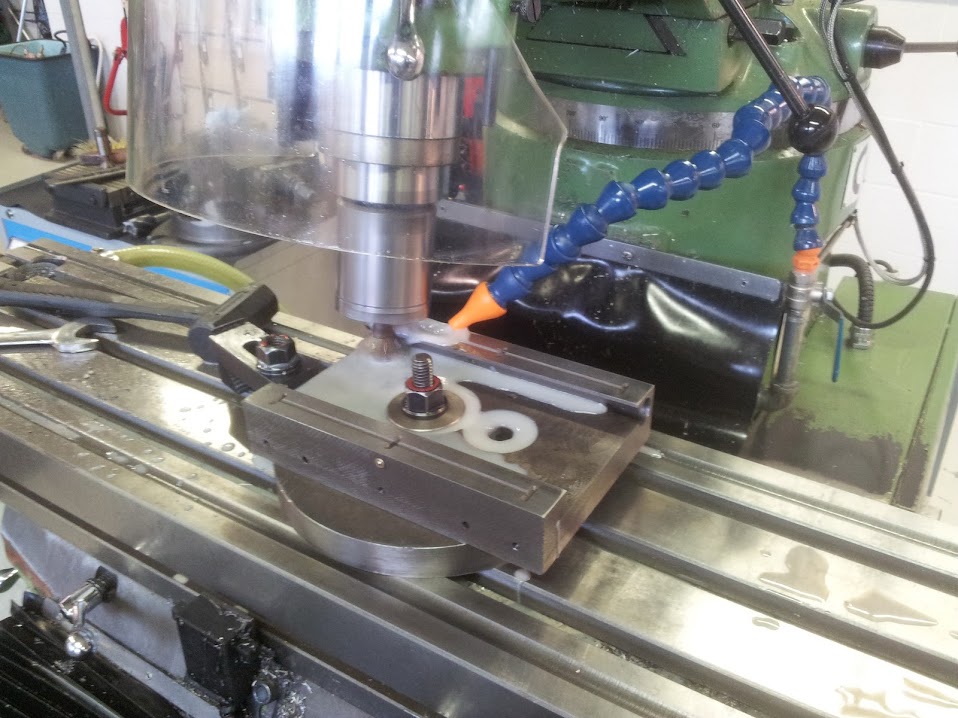
A new gib was machined from gauge plate and surface ground to ensure parallelism.
The sliding head had new M8 threaded holes drilled and the side plate was drilled a generous clearance for the adjusting screws, a very satisfactory result but it took a lot of work.
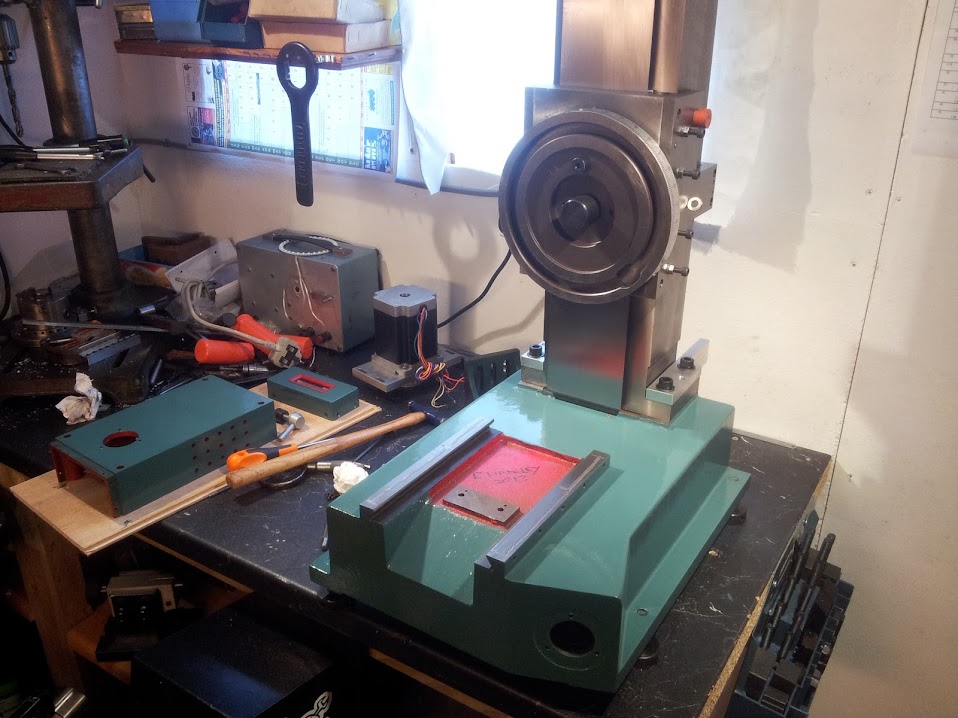
At this stage I took a little tangent and decided to change to colour from the standard red to a Tom Senior Green, everything was given a good degrease and the enamel given two coats.
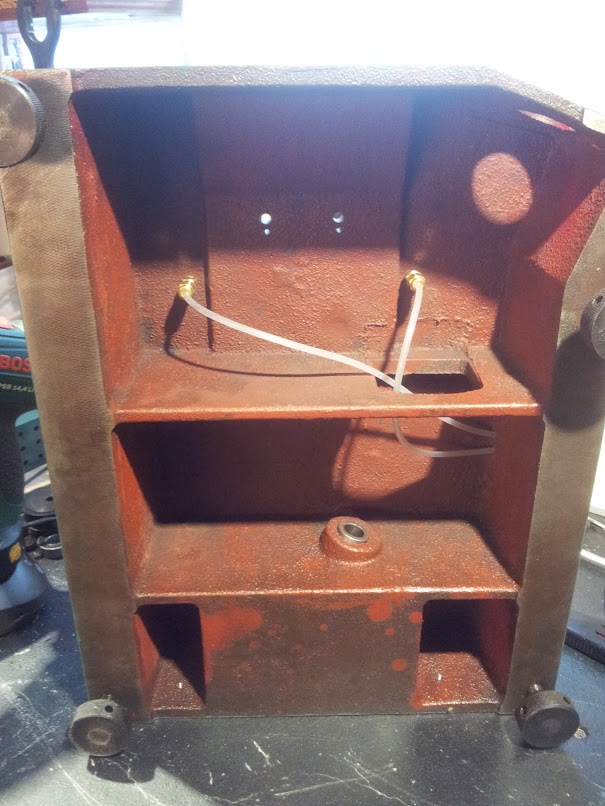
I also started to install the lubrication system by grinding small channels in the Y mating surface, they are not very pretty but they do the job. A small hole is drilled through the base and they are tapped M8 fine on the underside to accept the dose limiters.
This will be a manual one shot system eventually going to all three axis.
More to follow...
Thread: Robs SX3 CNC-Manual Conversion
Results 1 to 10 of 10
Threaded View
-
06-18-2013, 09:35 PM #1
 Registered
- Join Date
- Mar 2010
- Posts
- 17
 Robs SX3 CNC-Manual Conversion


 Reply With Quote
Similar Threads
-
Jet 1600 ZX (2004) Manual to CNC Conversion
By kb18951452 in forum Uncategorised MetalWorking MachinesReplies: 0Last Post: 10-17-2010, 12:58 AM -
Info on manual to CNC conversion needed
By eoinie in forum Uncategorised MetalWorking MachinesReplies: 0Last Post: 03-30-2010, 06:27 PM -
Manual lathe conversion to CNC -
By jdmech in forum Uncategorised MetalWorking MachinesReplies: 2Last Post: 10-02-2006, 10:32 PM -
Manual lathe CNC conversion
By kong in forum Uncategorised MetalWorking MachinesReplies: 10Last Post: 08-20-2005, 09:56 PM -
Manual EDM to CNC conversion
By Jim Estes in forum Waterjet General TopicsReplies: 13Last Post: 03-15-2005, 02:06 PM
